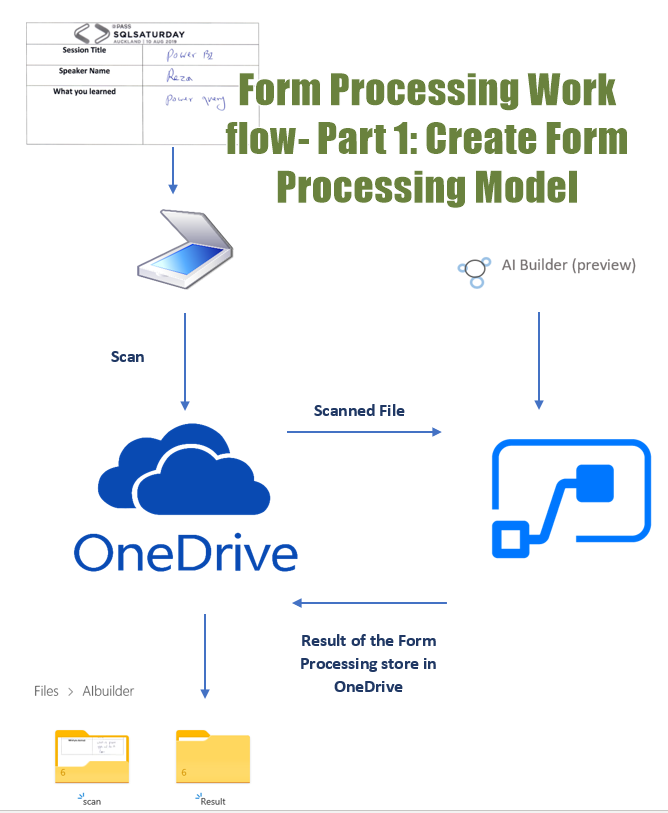
Another exiting new update in AI Builder is Form Processing. With for Processing you able to train the model with forms you have and AI builder able to detect each session of the form and the related values. This feature is so exiting form as for 5 years I am one of the organizer of SQL Saturday Auckland and always I have challenge with evaluation. In some strange way people prefer to evaluate the sessions via paper rather online link. So I need to create an application with cognitive service that able to detect the elements in a form. Such as title of the session, speaker name and the comments from the attendees. In this post and the next one, I will explain the process from creating the form processing model to Flow application that helps me.
in this post and next One, I will explain the process.
First: Set up the Form Processing in AI Builder
Before start Make sure
! Make sure you have forms and at least 5 forms with less than 4 MB size and if it is handwritten form, the quality of form in jpg/png or PDF make sure to be good.
! You already access to AI Builder environment see Post.
Now, you can start logging into the Power Apps make sure to access the environment you can see the AI Builder. You should see the AI Builder icon in left side of the window.
Next, under the AI Builder, choose the Build Option, then from AI model, choose the Form Processing.
In the new page, Form Processing put a name for the Model Name then select the create
The first step is Analyse Documents, you need to import at least 5 samples of the filled form you have. Just make sure the quality be good and the size of all file does not exceed 4MB.
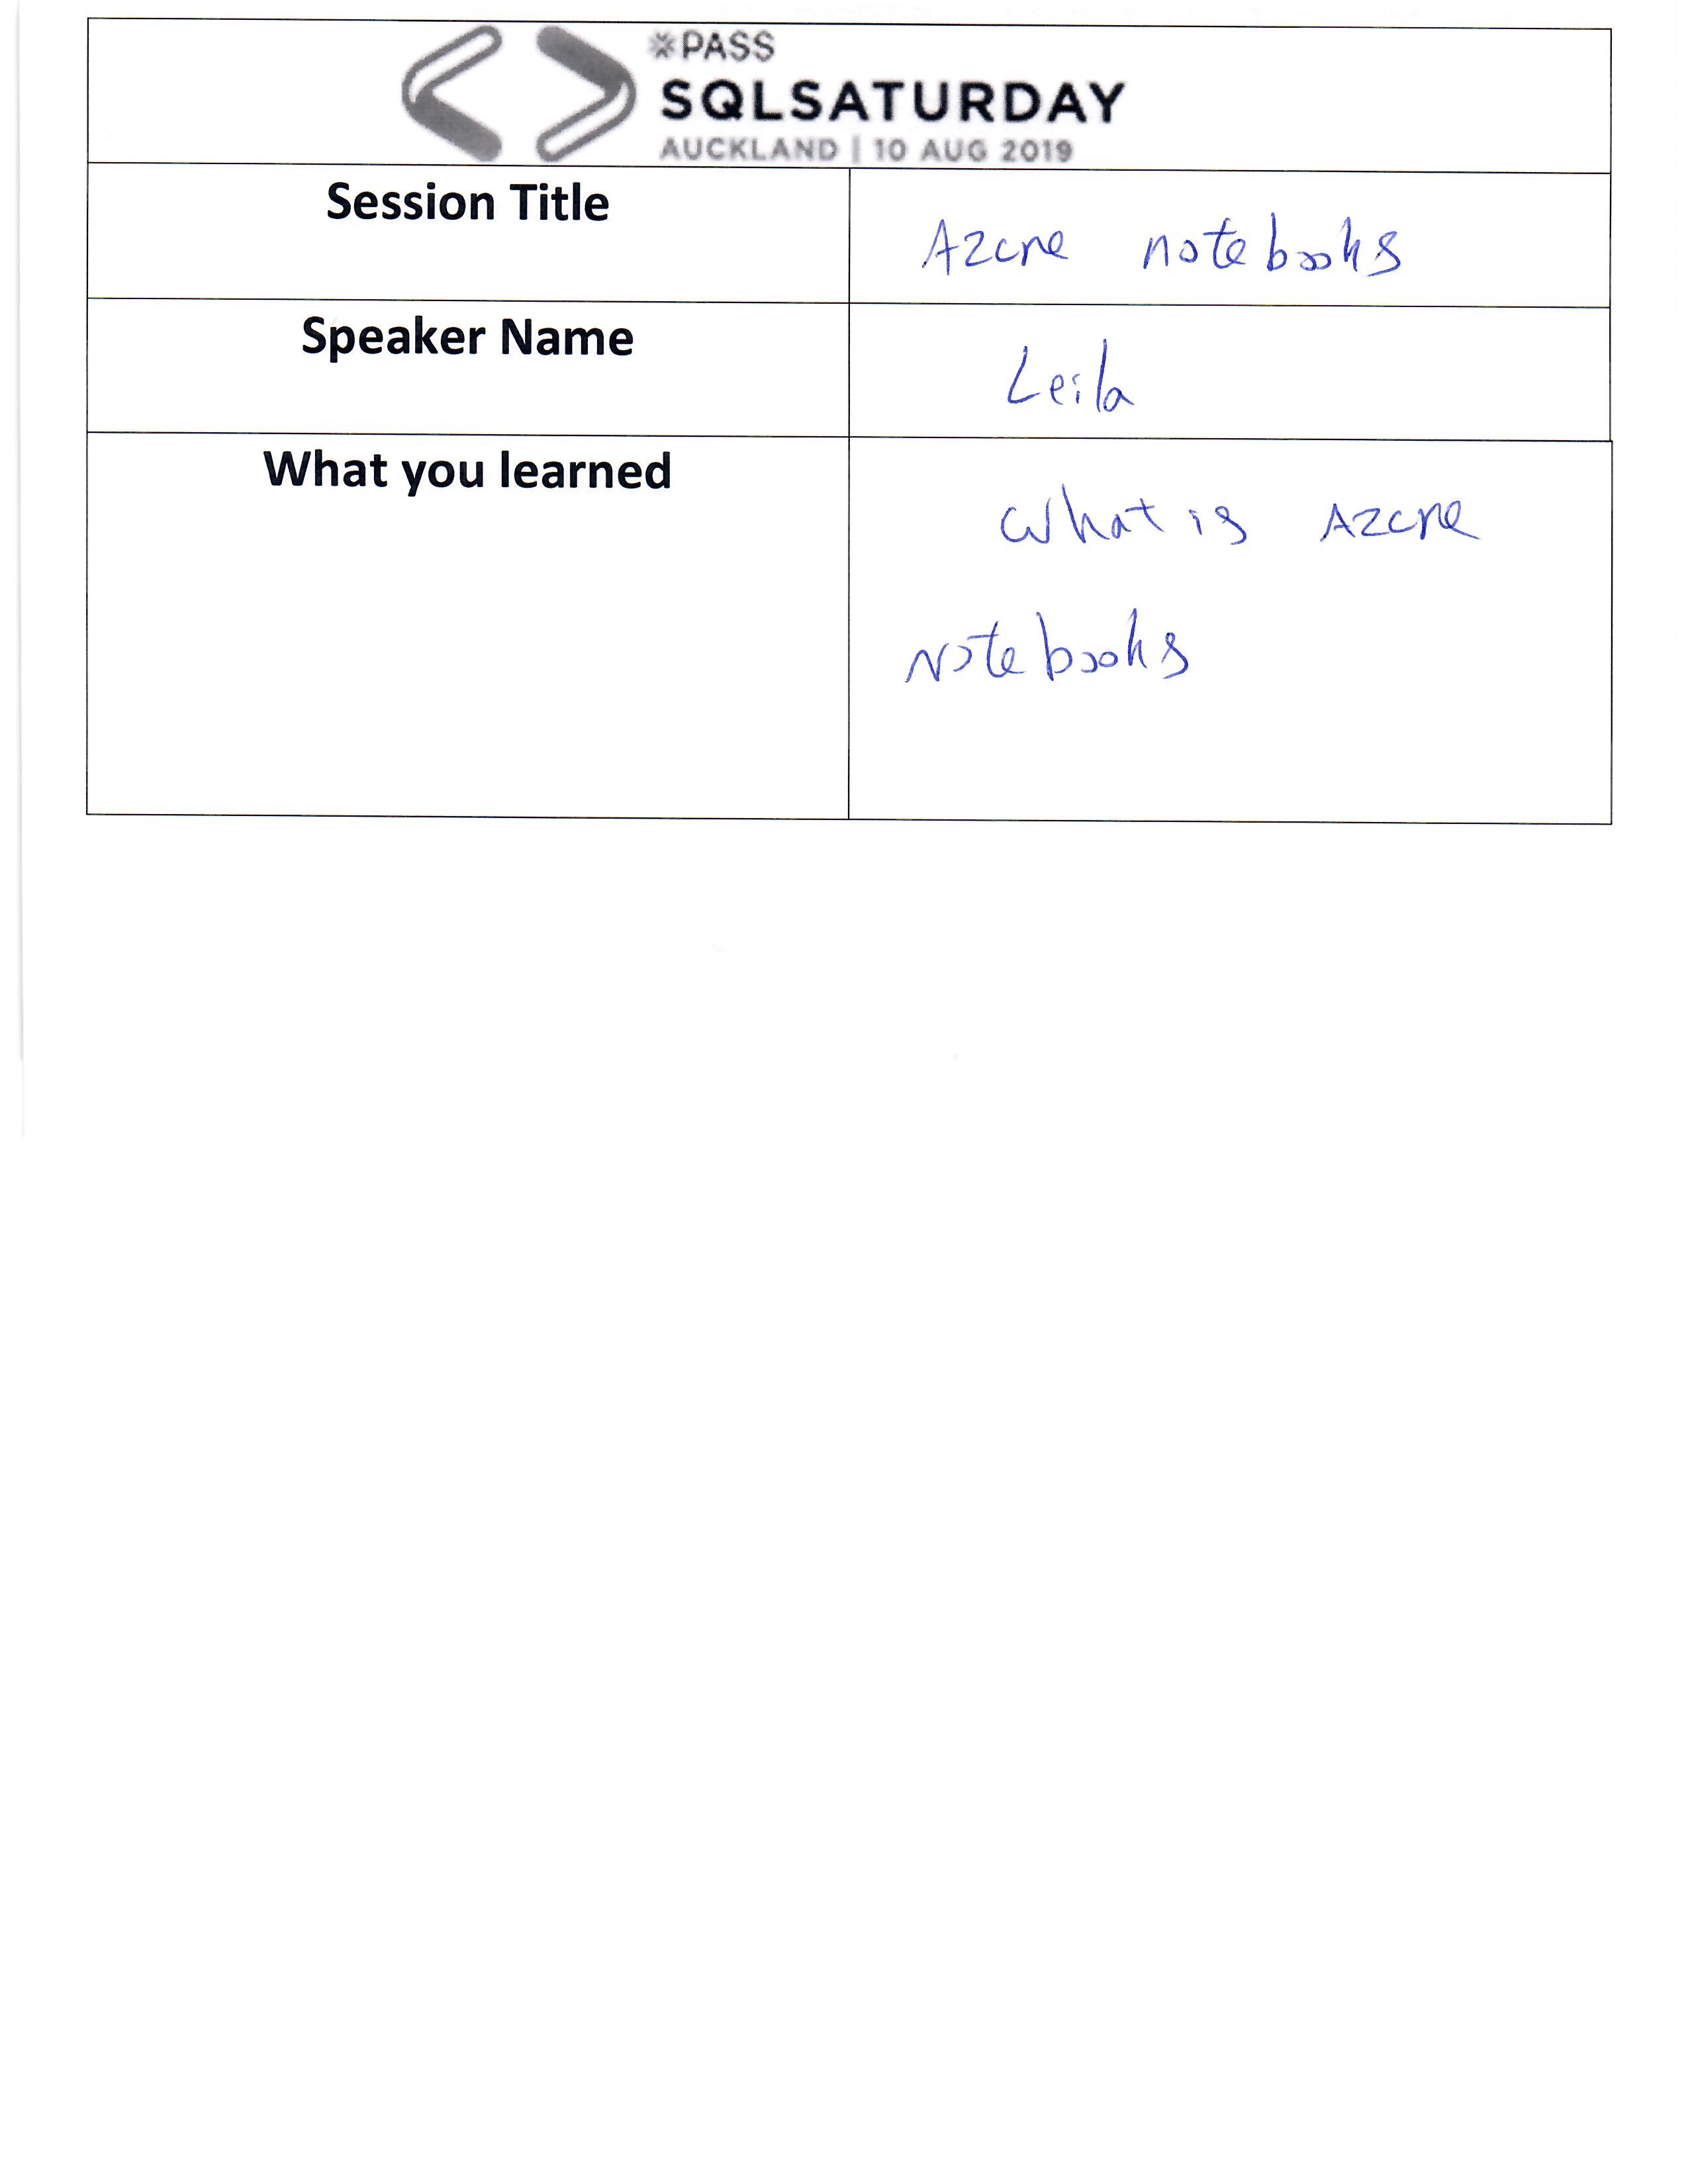
As I mentioned before, I want to use this form processing for the aim of session evaluation, so I import 6 different session evaluation like below :
After importing the forms, you need to analyse the documents, so AI Builder can detect each section of the forms and related values.
Analysing the form take a couple of minutes, after that, you need to check the identified fields and choose the one that is matter to you
As you can see in the below picture, in this example three fields have been identified, and you able to see the confidence of each part by hovering your mouse over each field. Choose the fields you are happy about. The selected fields will be shown in the right panel.
After selecting the fields, you are in the second step of building form processing, to navigate to the third step, click on the Next.
Now, you imported your sample forms, at this stage you can train your model, you can see a summary of the model as the number of forms and number of selected fields. Then click on the Train option to navigate to the last step.
Training will take about a couple of minutes, depends on the number of documents for training, after training complete, Go to details page.
In the details page, you can see the number of documents you uploaded for training, the number of detected fields in each form, You can also test the model and then publish it.
for testing the mode, you need to import a sample of the form that you have, then wait to see the result in the Quick Test page.
In the sample, all trained fields should be identified. Next Back to the details page and Publish the model so you can use it in other applications
I want to create a workflow so I can upload pictures in OneDrive, then using this model and store back to OneDrive the result as a text file so I can use it Power BI report. As a result, after creating a model, I navigate to the Microsoft Flow. and I log in in the same environment I created the form processing model.
To make sure I can see the model I just created in Microsoft Flow, click on the model and you should see the Form Processing model is available with Publish Status as Live.
In the next post, I will explain how I create a Workflow that able to read scanned file from the OneDrive folder then apply the created model and store back in a text file in the OneDrive again.


