

A question that I often get when I explain what the dynamic row-level security in Power BI is and how it works, is that; how can we get all the users in an Active Directory tenant imported into Power BI? There are other benefits also to import Azure Active Directory (AAD) users loaded into Power BI for reporting purposes. In this article, I’ll explain a method you can use simply to do that.
Video
Azure Active Directory PowerShell Cmdlets
There are two main methods to fetch the Azure Active Directory information; Microsoft Graph, or PowerShell Cmdlets. Both methods are very useful. However, explaining both in one article will be overwhelming. In this article, I’ll focus on how you can fetch the information using PowerShell Cmdlets. The method I explain here is manual. However, the PowerShell scripts can be automated to run as a scheduled process (I might explain that later in another article too). Let’s see how it works.
The method explained here is exporting the AAD users into a CSV file first, and then Power BI imports data from the CSV. You can use any other intermediate data sources such as Excel, SQL Server, etc if you want to. You just need to use their PowerShell cmdlets or parameters to do that.
Special thanks to Aaron Nelson for helping on preparing the demo for this article. Anytime I have a PowerShell question, he is the master who just finds a way to do it in a few seconds. Connect with him using his blog, Twitter, GitHub, or LinkedIn profile.

Start with PowerShell
To run these commands you can open the Windows PowerShell, but remember to Run it as administrators, as some of the commands requires administrative privilege to do some module installation.

Then start with the script below (This script installs the Azure related modules in the local Powershell library);
Install-Module Az.Resources

Answer the question with “y” meaning that you would like to proceed with the installation and press Enter.
After the installation, the second command to run is to connect the Azure Account, which you can use the below command for it;
Connect-AzAccount
If you use the command just like above, then an authentication window will pop up and ask you to log in using an Azure Account. This should be an account that has administrative access on the Azure Active Directory because we want to fetch the list of users using this account.
However, if the account that you provide here has access to multiple AAD tenants, then the command automatically picks one, in order to specify in detail which tenant and environment, etc to use for this account, you can use more detailed input like below;
Connect-AzAccount
        [-Environment ]
        [-Tenant ]
        [-AccountId ]
        [-Subscription ]
        [-AuthScope ]
        [-ContextName ]
        [-SkipContextPopulation]
        [-MaxContextPopulation ]
        [-UseDeviceAuthentication]
        [-Force]
        [-Scope ]
        [-DefaultProfile ]
        [-WhatIf]
        [-Confirm]
        []
Learn more about the Connect-AzAccount cmdlet here.
After successfully connecting the account and tenant, there is just one more command to run, which is below;
Get-AzADUser -First 10
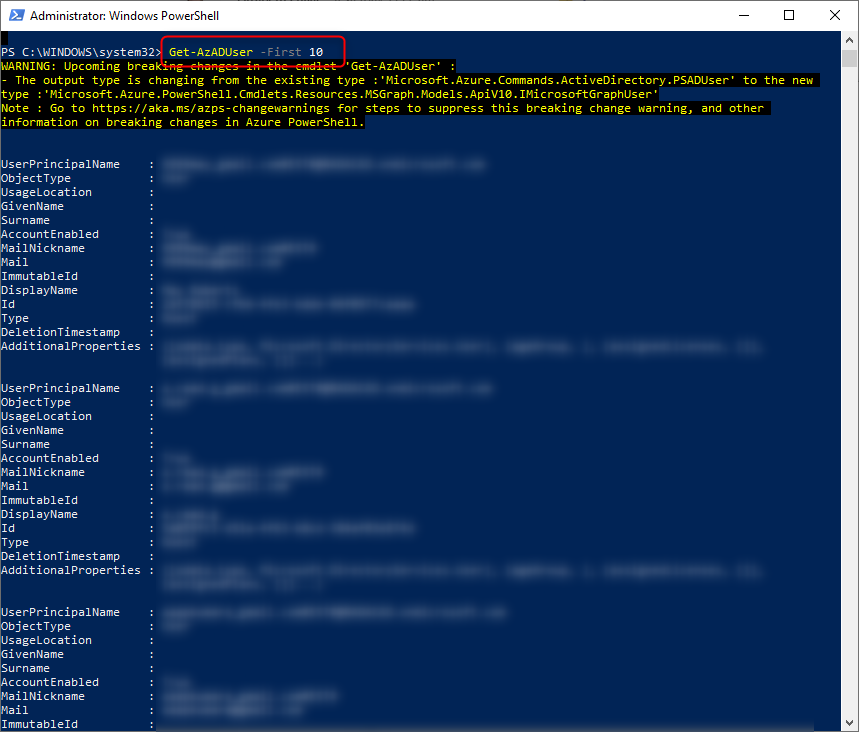
The command above returns the first 10 users in the tenant. I limited the result with the parameter named “First”, you can also use other parameters as mentioned here;
Get-AzADUser
    [-AppendSelected]
    [-ConsistencyLevel ]
    [-DefaultProfile ]
    [-Expand ]
    [-Filter ]
    [-First ]
    [-Orderby ]
    [-Search ]
    [-Select ]
    [-Skip ]
    []
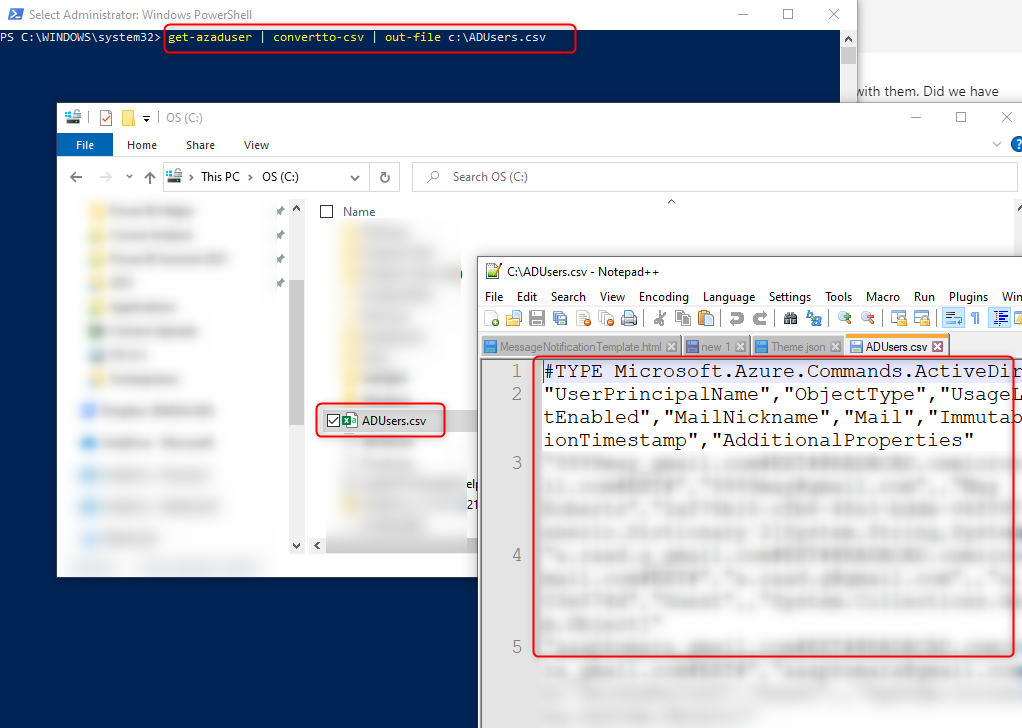
Ideally, you want this data to be exported into a storage format so that you can use that as the Get Data Source in Power BI. The command below is exporting that as a CSV file;
Get-AzADUser | ConvertTo-CSV | Out-File C:\ADUsers.csv
You can choose the path of the output file as whatever you want.
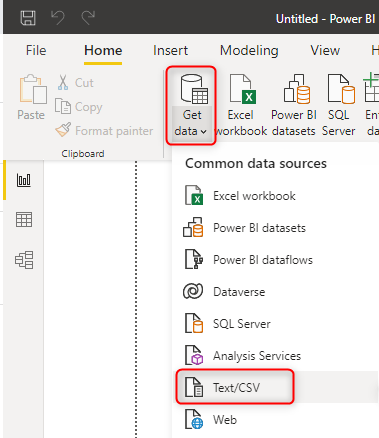
This file now can be simply used in Power BI Desktop by Get Data from Text/CSV;
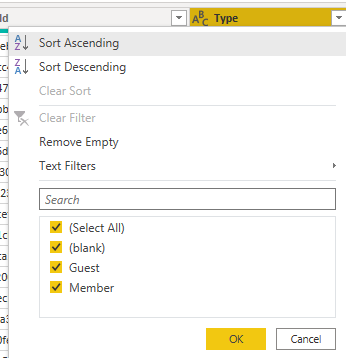
You then need to remove the top first row and then use the First Row as Headers, and that’s it. this is the data table with all Azure Active Directory Users;
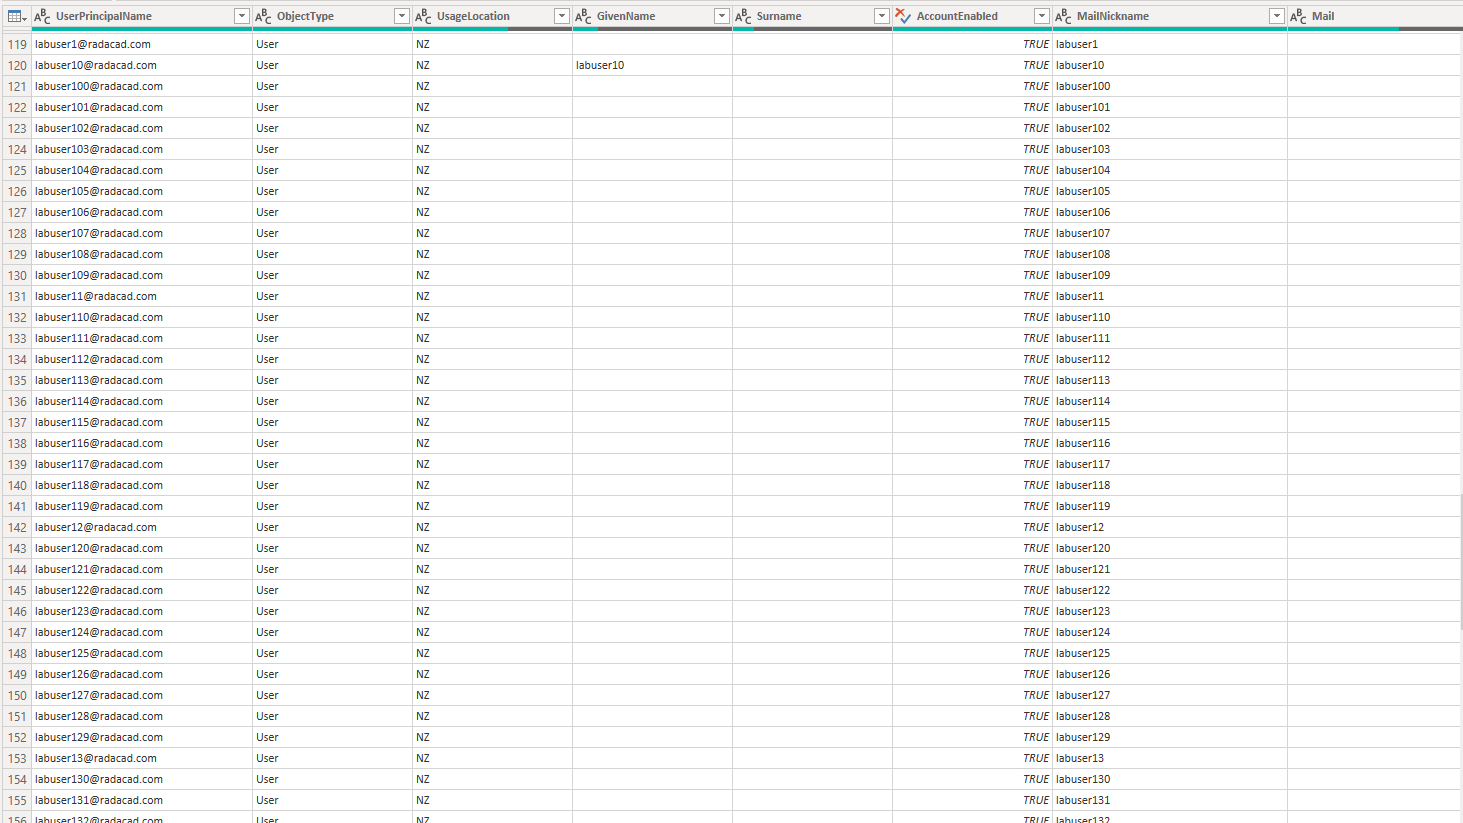
This data then can be used for reporting, and most importantly, for the user table with all the emails for the Dynamic Row-Level Security configuration. The dataset has a column determining if the user is a guest or member.
Summary & Considerations
The method mentioned in this article is manual. It still needs to be automated so that the scheduled refresh of Power BI automatically picks up the updates. This can be done with a scheduled process to run the PowerShell script.
There is another way to populate the information from Azure Active Directory, and that is using Microsoft Graph. I’ll explain that method separately in another article.
In this article, you’ve learned how you can use PowerShell scripts to extract the Azure Active Directory users and export it as CSV, and then import that data into Power BI. This data can be extremely useful for a Dynamic row-level security setup.


Reza is author of more than 14 books on Microsoft Business Intelligence, most of these books are published under Power BI category. Among these are books such as Power BI DAX Simplified, Pro Power BI Architecture, Power BI from Rookie to Rock Star, Power Query books series, Row-Level Security in Power BI and etc.
He is an International Speaker in Microsoft Ignite, Microsoft Business Applications Summit, Data Insight Summit, PASS Summit, SQL Saturday and SQL user groups. And He is a Microsoft Certified Trainer.
Reza’s passion is to help you find the best data solution, he is Data enthusiast.
His articles on different aspects of technologies, especially on MS BI, can be found on his blog: https://radacad.com/blog.