
If you want to control the access to the Power BI report pages (or tabs) in a way that some users see some pages, and some others see other pages, we need something called page-level security. However, Power BI, as of today, doesn’t support visual-level or page-level security. There is a workaround to do it. In this article, I’ll explain that.
Video
Method 1: Break report into multiple reports
The first method as a workaround is the one I explained in another article previously. If you have different users for different types of reports, then it is better to create multiple reports for each group of users. However, to keep things consistent (measures, model, formatting, etc), I recommend creating the second report from the shared dataset. Here I explained about how it works;
Method 2: All in one report, but control the navigation
The second method is the one I am going to explain in this article. You can keep all the pages in one report, but control the navigation. Overall, we hide the page in the report and control the navigation to it by slicers and buttons. This way, users would be able to navigate into the pages we authorize them using a navigation table managed by row-level security. Let’s see how it is possible.
Sample report
I have a sample report with some pages like below;

As you can see, only the Main page is visible, and all other pages are hidden. This is done so that we can control the navigation ourselves.
Hide all pages, except the landing page
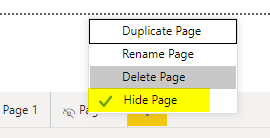
The first step is to hide all pages except the landing page (As you can see in the above screenshot). To hide a page, simply right-click on the page and hide it.
Create a security table
I am using Dynamic Row-Level Security here in this example. You need to create a table with all the users and the page name they have accesss to. Something like below;

I called the table above, Page security. This table is not related to other tables with relationship (Unless you want the dynamic RLS to filter your data rows in other tables too).

Filter the Page Security table by row-level security
We need to ensure that Power BI will filter the Page Security table only for the logged-in user. Filter this page using the Manage Roles > Create Role. and add a filter for it by UserPrincipalName() function as below;
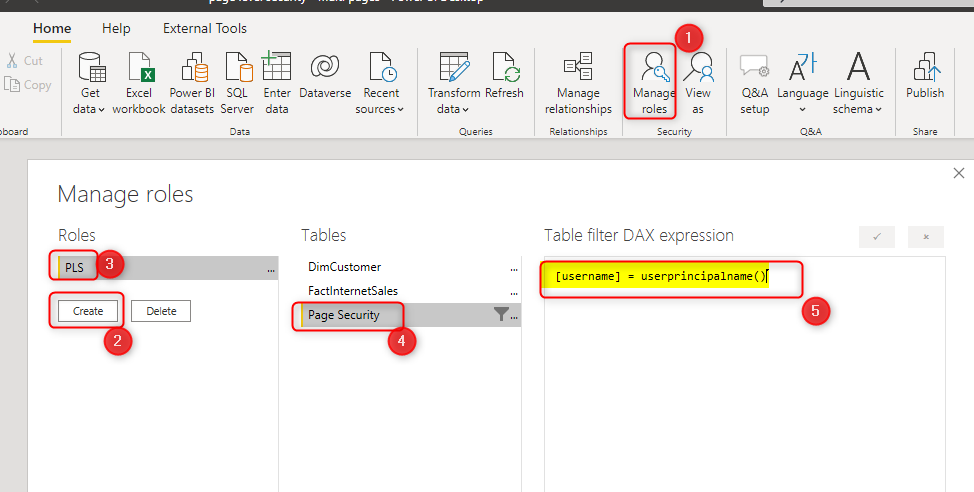
The expression is:
[username] = userprincipalname()
The expression means that this table gets filtered by the logged-in user in Power BI once the report is published to the service.
Create navigation slicer
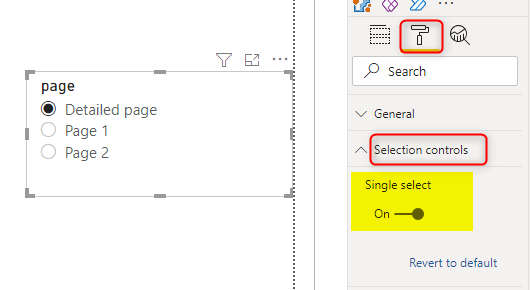
Because we have made all pages hidden in the report (except the landing page), we need to build a custom navigation method for it. You can do it by using a slicer with the page name in it;
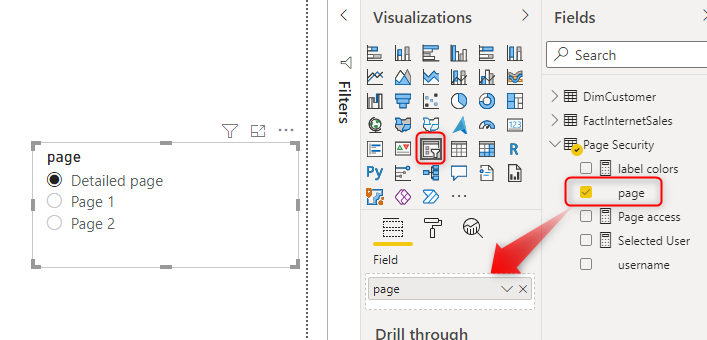
The slicer will have name of all pages that you have in the Page Security table. You need to make the slicer single-selection. Go to the Format tab, and under Selection controls, turn on the Single select.
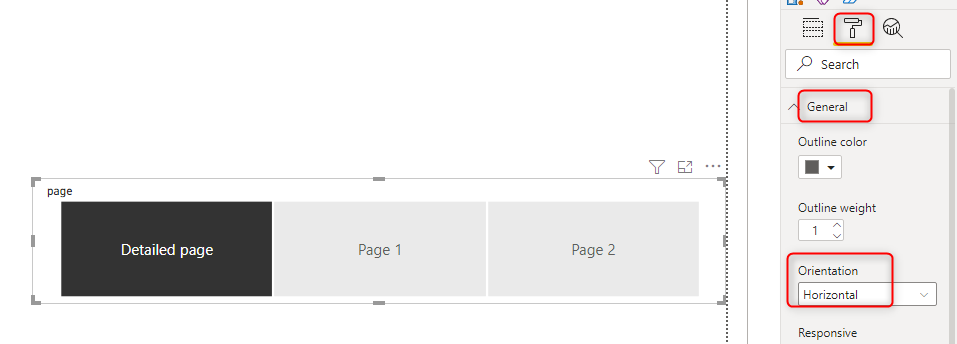
Note, that you can customize the way the slicer looks like. For example, if you prefer a horizontal view, you can change it to that;
Create page selection measure
Create a measure for the selected page by the slicer, the measure can be as simple as below;
Page access = SELECTEDVALUE('Page Security'[page])
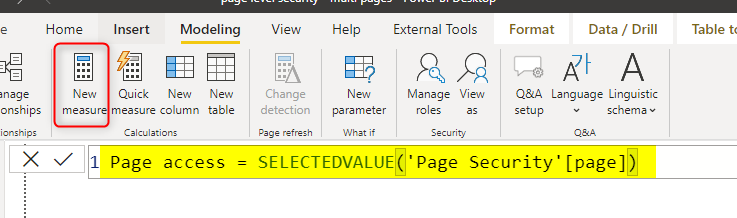
This measure will be used as the action of page navigation in a button
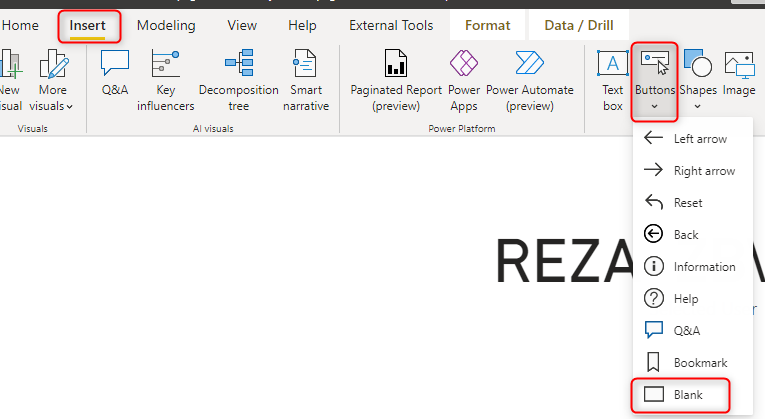
Create navigation button
Selection of slicer should lead to page navigation. let’s create a new button for that then.
Set the botton’s text to the page access measure we created above.
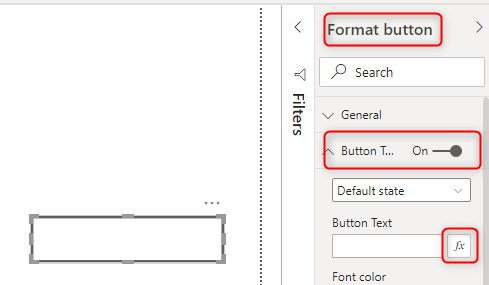
In the conditional formatting window opened, select the Format by to “Field value”, and then select “Page access” in the “Based on field”.
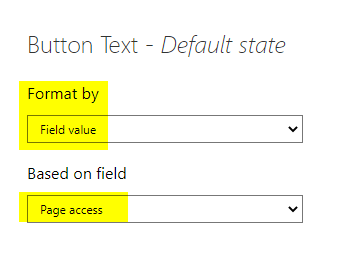
This setting means that the text of the button is automatically generated by the “Page access” measure, and that is showing the selected item in the slicer. To learn more about the conditional formatting, read my article here.
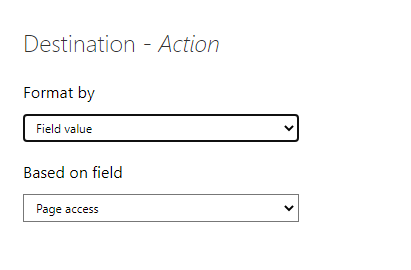
Set the Action of the button to page navigation, and also set the page navigation, and use the fx for customizing the destination of the navigation.
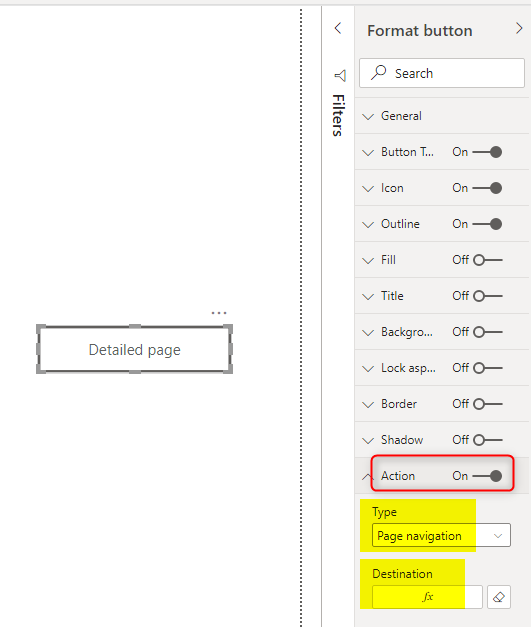
The destination would use the same “Page access” measure;
The navigation now should look like below. The button shows the name of the page selected in the slicer and will navigate to it.

Publish the report and set the security access
The solution is almost ready. Publish the report (Make sure to be on the Main page when you publish it), and then in the service go to the security of the dataset.

Here, you need to have an O365 group including everyone in the organization and add that to the role. Because we have implemented it using dynamic row-level security, they would only see report pages that listed in the Page Security table.
Testing the solution
Now you can share the report with a user (using any methods that gives them read-only access), and they should be able to navigate only to the pages they have access to. For example, my user has access only to one of those pages, and can only see that in the slicer;
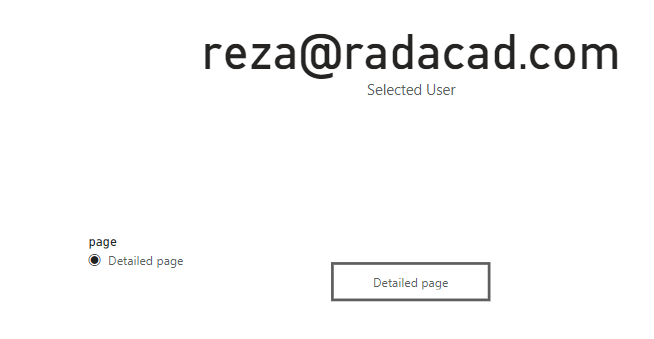
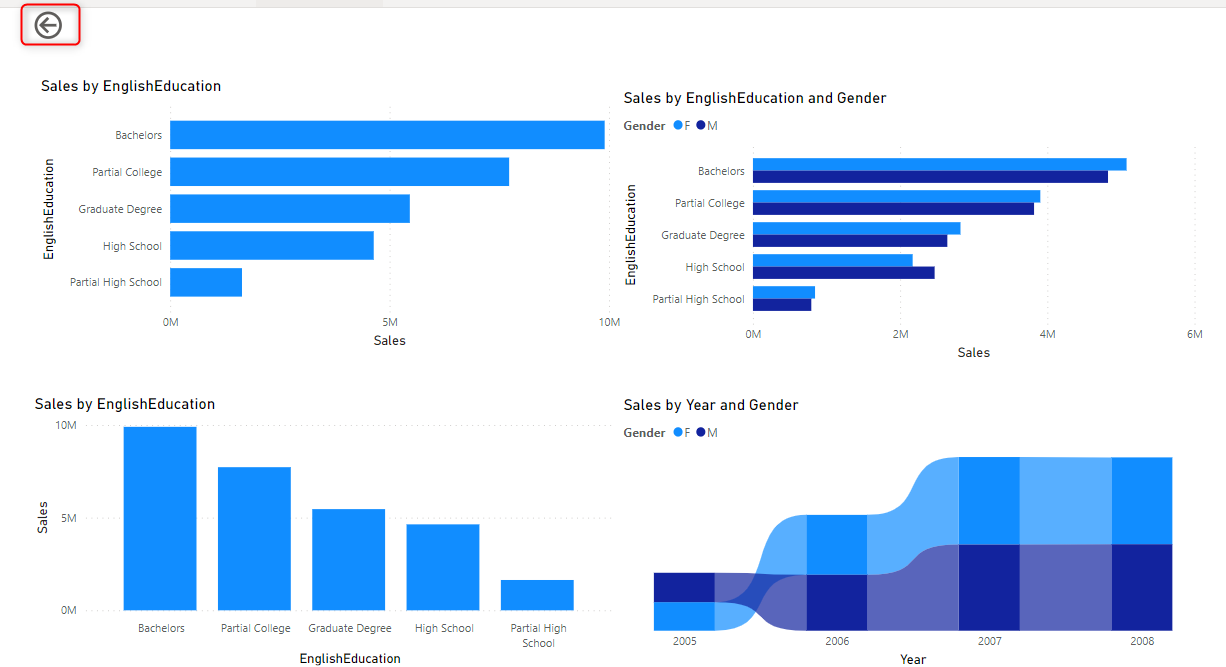
Once the user clicked on the navigation button, the he/she can see the report. You notice that I created also a back button for making it easy to go back to the navigation page.
Hacking this method!
Talking about security, you also need to think how this method can be hacked. This method if used like the above, is not really secure! users can somehow get the URL for other report pages and browse there directly! Yes, they can. What we have done in the above steps was just to control how the get to the page. We have done nothing to avoid them seeing the content of the page if they ARE in the page. Of course, this scenario is unlikely to happen, because if the user doesn’t have access to the report page, how they can know the URL of it. However, to be on the safe and SECURE side, you need to take care of it. Here are some options for fixing that;
Set up row-level security in other tables
Make sure to set up row-level security in other tables. So that in case the user gets to see other report pages, they only see what they are allowed to see from the data.
Secure measures to not show anything if the user doesn’t have access to the page
You need to find all measures and values showed in a page, and then add some changes in the expression that only show a result if the user has access to that page in the Page security table. here is an example of the Sales measure;
Sales =
var _sales=SUM(FactInternetSales[SalesAmount])
var _lookupSecurity=LOOKUPVALUE('Page Security'[username],'Page Security'[page],'Detailed page')
return
if(_lookupSecurity=[Selected User],_sales)
The above is written for the “Detailed page”. The script needs to be changed if the measure is used in multiple pages.
Hide visuals labels if no access
You have to hide visual lables using similar style of measures for conditional formatting visual titles and X and Y axis titles. For example, I did it with changing the label colors using this measure;
label colors =
var _SecurityLookup=LOOKUPVALUE('Page Security'[username],'Page Security'[page],'Detailed page')
return
if(_SecurityLookup=[Selected User],'Black','white')
And used this measure as the conditional formatting of colors of chart labels;

This task is time consuming and has to be done for every visual in every page.
Using the methods above, when someone unauthorized somehow get to know the URL of the page and open it, they cannot see anything in that page;
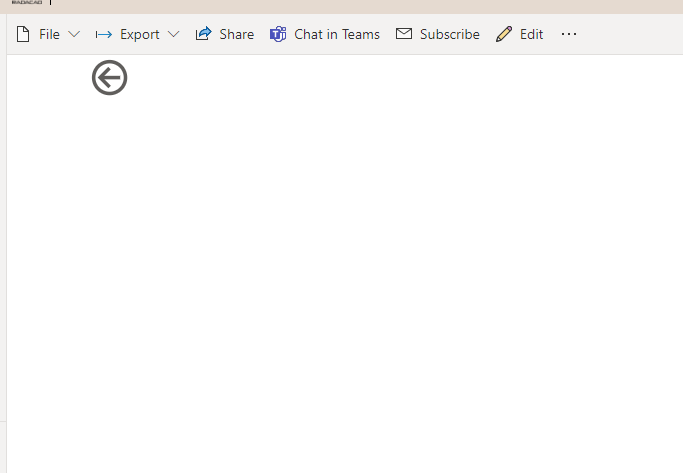
You can enhance it more by adding a visual layer behind other visuals saying that “You don’t have access to this page” or something like that.
Summary
Page-level security and Visual-level security is not yet supported in Power BI. That is why we need workarounds to implement it. I would strongly suggest creating multiple reports for different audiences connected to a shared dataset (the method 1 on this article). However, as a second method, the way explained in this article works nicely, however you need to be aware of this: This method controls the navigation, to secure the content of each page, you have to still apply security using measures and conditional formatting, as it explained in the last part of this article.
Download
Download the Power BI file from here;


Reza is author of more than 14 books on Microsoft Business Intelligence, most of these books are published under Power BI category. Among these are books such as Power BI DAX Simplified, Pro Power BI Architecture, Power BI from Rookie to Rock Star, Power Query books series, Row-Level Security in Power BI and etc.
He is an International Speaker in Microsoft Ignite, Microsoft Business Applications Summit, Data Insight Summit, PASS Summit, SQL Saturday and SQL user groups. And He is a Microsoft Certified Trainer.
Reza’s passion is to help you find the best data solution, he is Data enthusiast.
His articles on different aspects of technologies, especially on MS BI, can be found on his blog: https://radacad.com/blog.
Wowww very helpful