
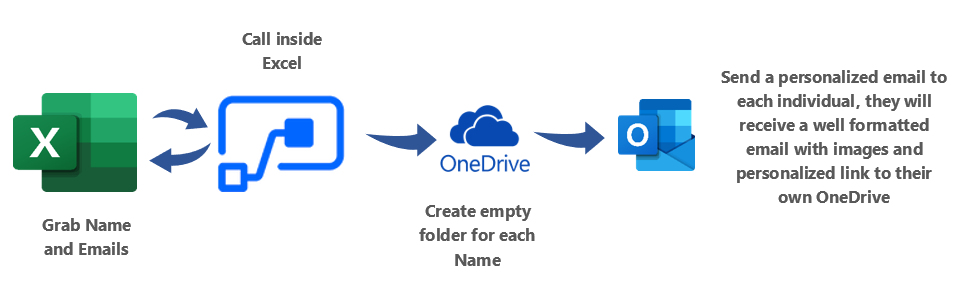
Here I will share one of my business case scenario using Power automate, Excel and OneDrive for a conference management that can be apply to all other training class scenarios.
we normally want to create a personalized folder for your students in class or for our speakers in a conference so they/we can put or files there and be separated environment from others. Or at the same time we want to send a specific email for each of the people based on their situation.
Of course writing codes in C# is one way, but there are other way without writing code is available for someone like me that did not write C# code for some years or event never right code.
Excel Part

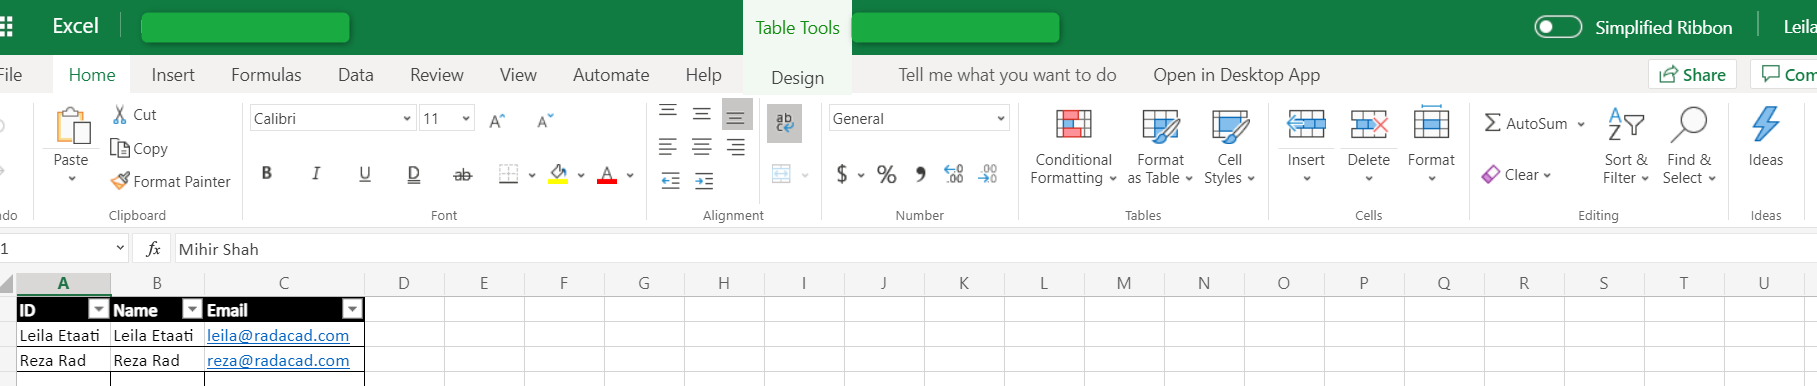
The first step was to create the list, I create a online Excel File to store speakers name and email in table format excel file and I put it inside my OneDrive folder.
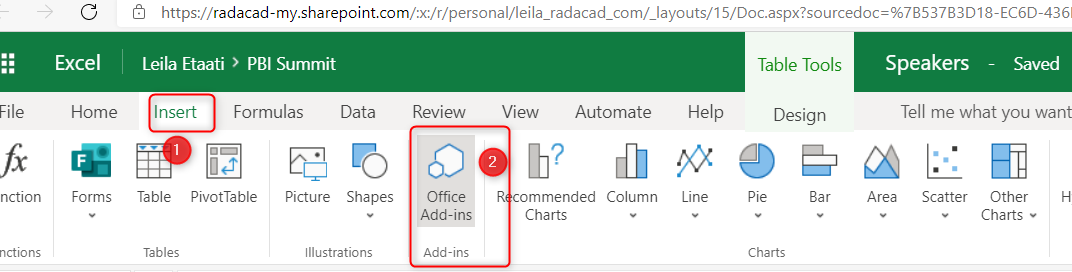
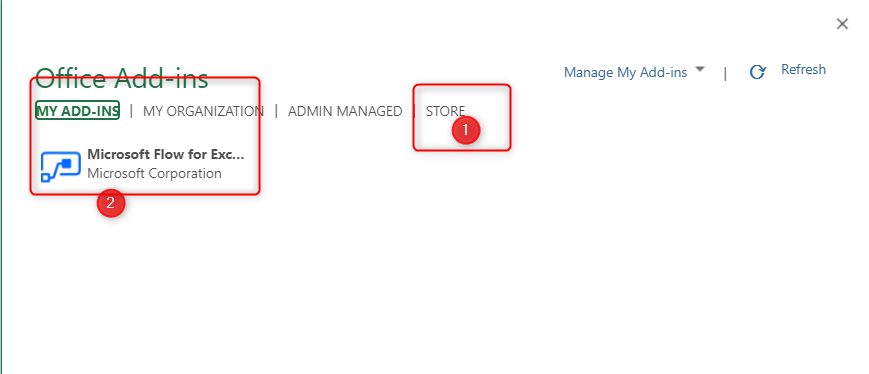
Then, I enable one Add on inside Excel online named Flow. To access it first click on the Insert tab, then in Office- Add-ins, navigate to Store and search for Microsoft Flow.
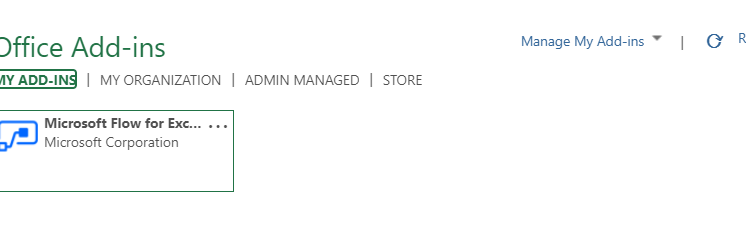
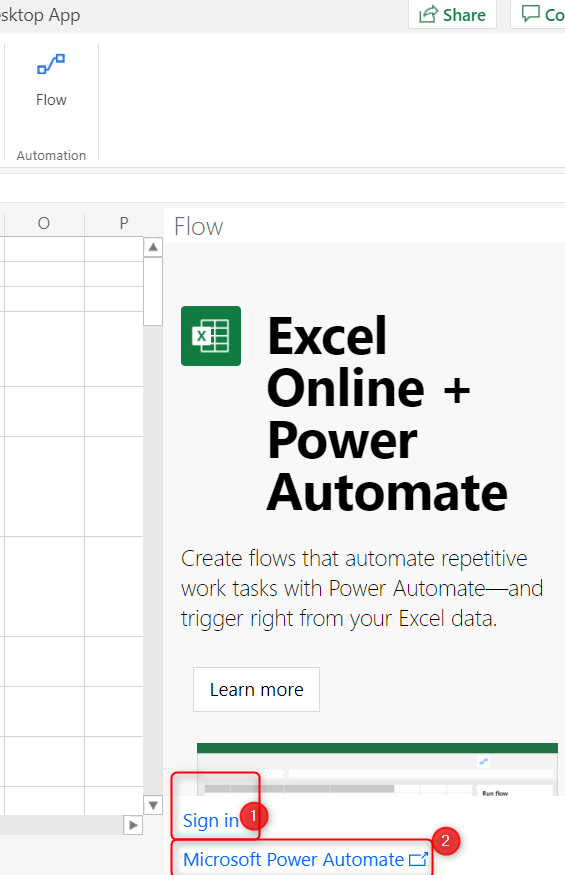
After enable the Flow Add-ins, you need to sing in to the Power Automate ( Microsoft Flow)
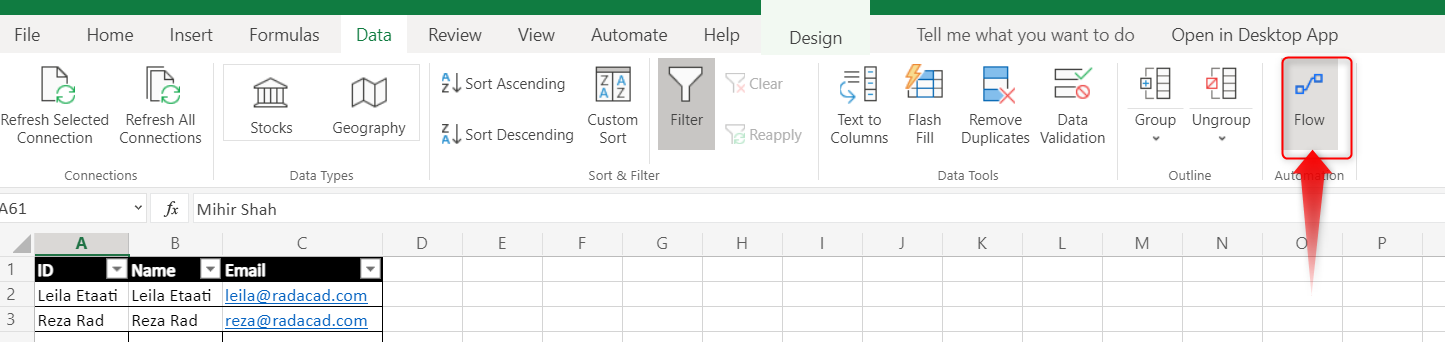
Now you ready to create your first flow section that is about creating a folder with name in the Excel sheet.
Flow Section

In the Microsoft Flow, you need to add a trigger so the flow and the process start.
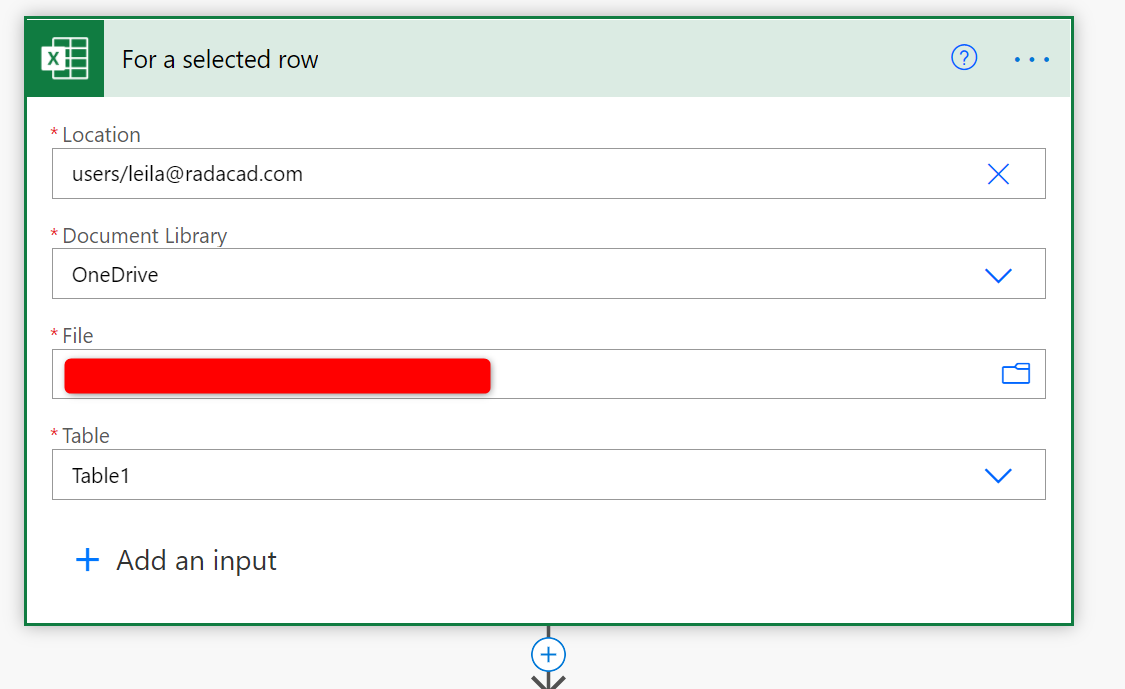
The trigger for my flow is when a user select a row in the excel file. so if the end user select a/multiple row/s that contains the name, ID and the email of the speakers the trigger start.
For a selected row is my trigger. I need to specify the location of the Excel file in OneDrive as below and the Table name ( Make sure the data in the excel file are in Table format before)
In the next step, as we do not have and Action in Flow to create a folder, I follow the article by BUILDBOD.
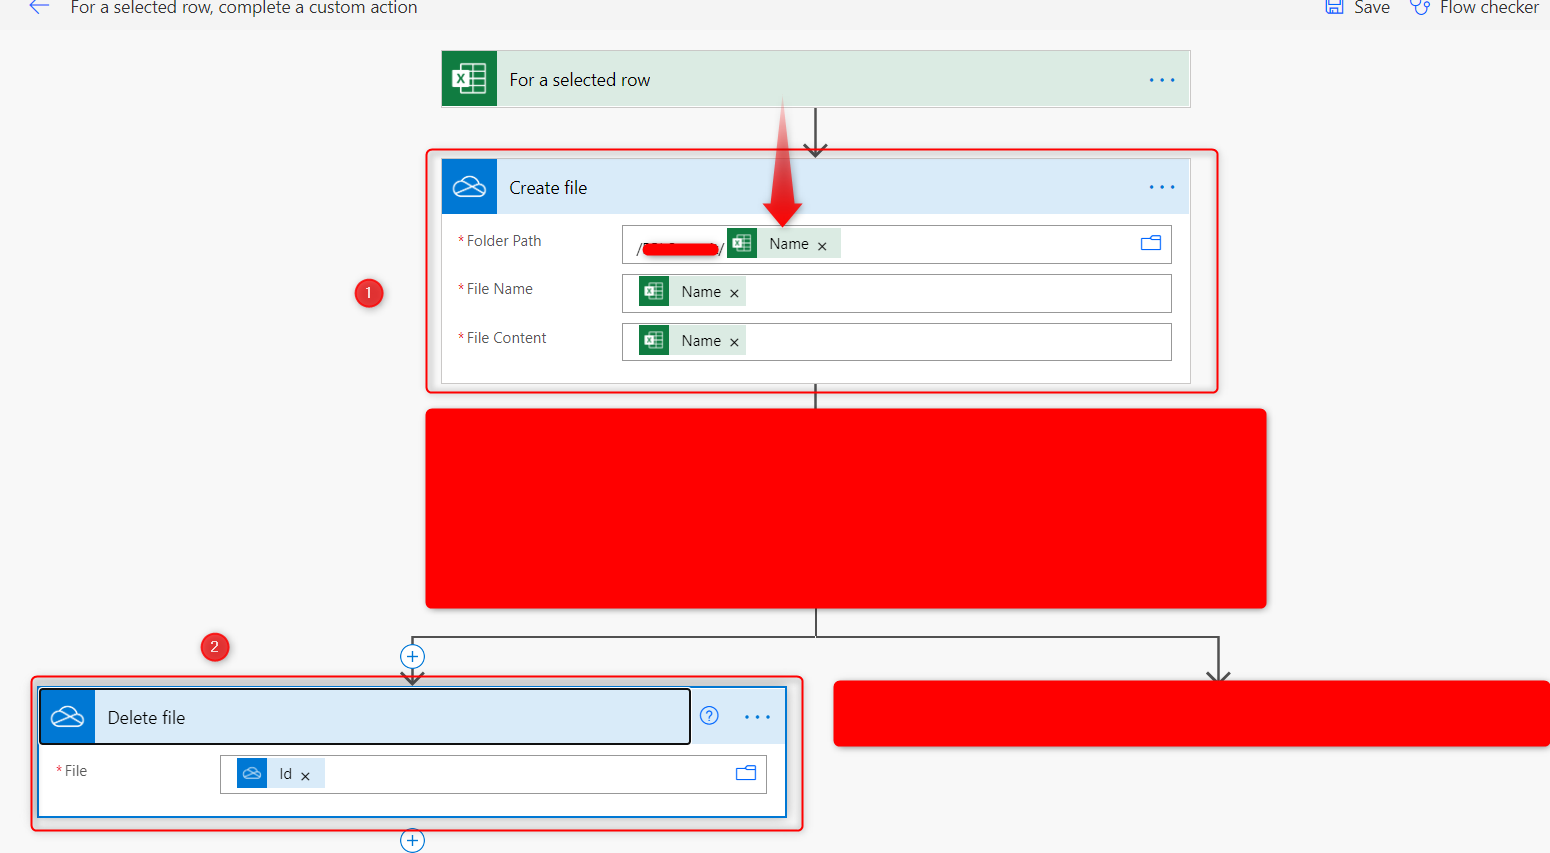
So I create a temporary file with a folder name ( my desire name come from excel file), as the folder does not exist, so to create a temporary file, Power Automate, create a folder in that name, then I will delete the temporary file. As you can see in the below picture, Create file in OneDrive, the Folder Path is the desire folder, but I put the Name received from selected row in Excel ( Name of person in this example Leila Etaati). IN the next stage, a file with that Name also created, that in the next Action I delete it using Delete File in OneDrive.
That is all! for creating Folder. you can test is as below.

Next if you check your OneDrive you should see the folder has been created.
In next parts, I will show how to create a share link and how to send a customized nice message with images and personalized link to this created folder.


Thanks for your efforts and sharing 🙂