
As I have discussed in part 1 and Part 2, the new possibility of creating machine learning without writing any Python or R codes is so amazing.
In Part One, the difference between Azure ML Studio (the traditional one) and the Azure ML Services (new component) has been very briefly explained. (I will write more about amazing features in Azure ML Services and its major difference later)
Read Part 2 first!

If you are new to this, I totally recommend first read Part 1 and 2 at least Part 2 first.
What happens in Part 2:
” 1- Create a new Azure ML Workspace.
2- Then we create an “Automated Machine Learning Experiement”
3- create a classification model for the Prediction of the Titanic model.
4-choose the features and algorithms
5- create a model!
Deployment
In this post, I am going to deploy the model that I created in Part 2 and use it in Power BI ( or any other medium you have).
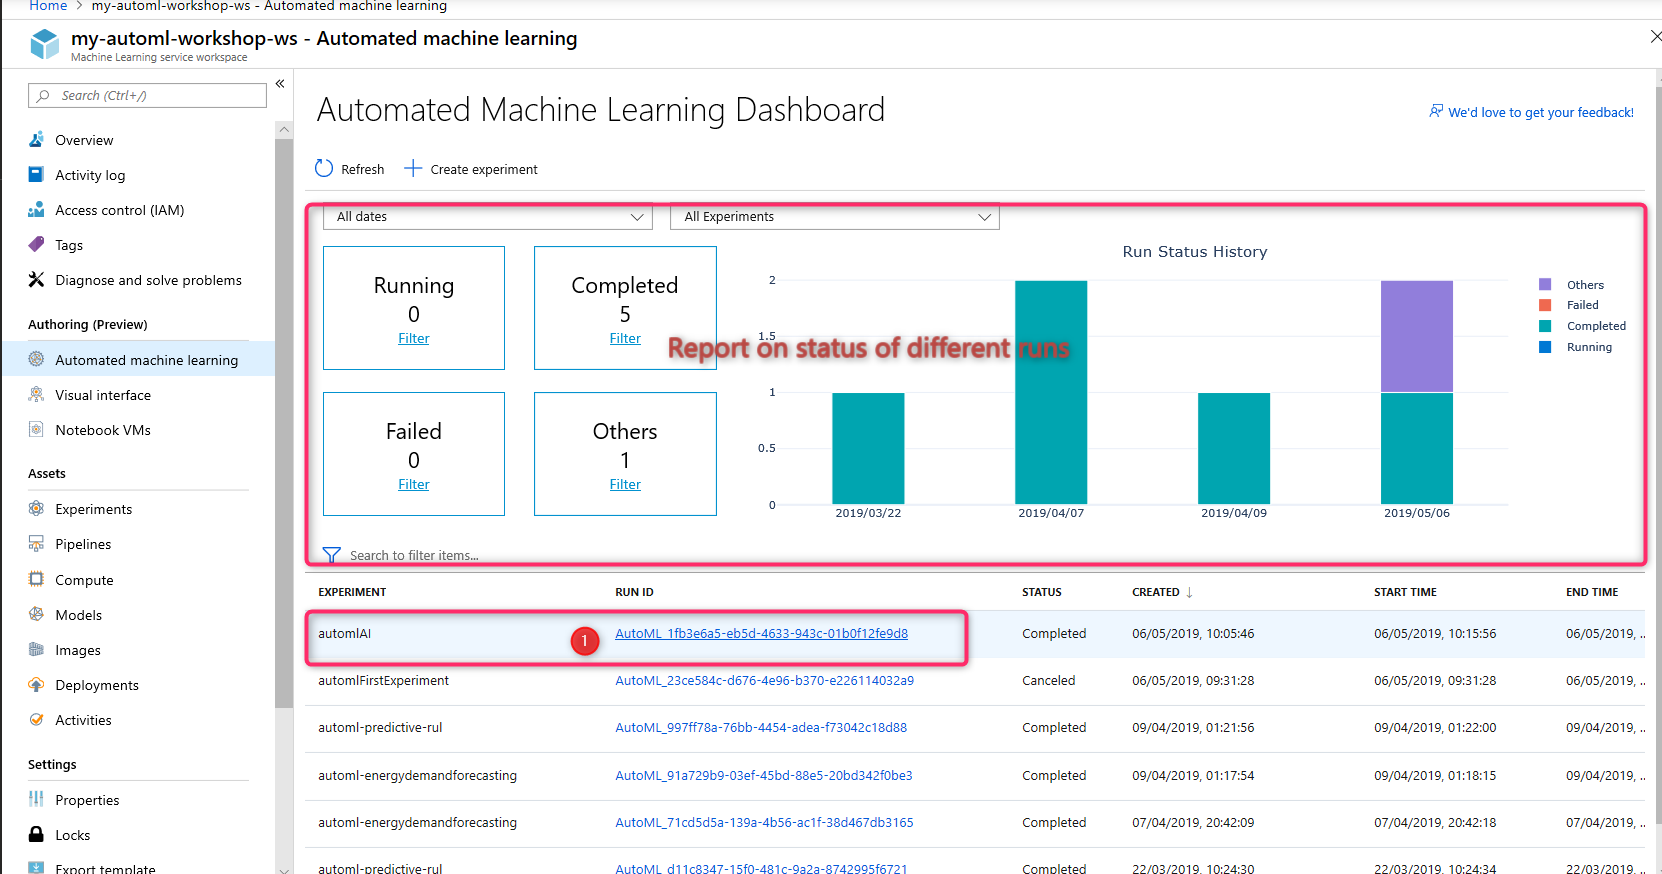
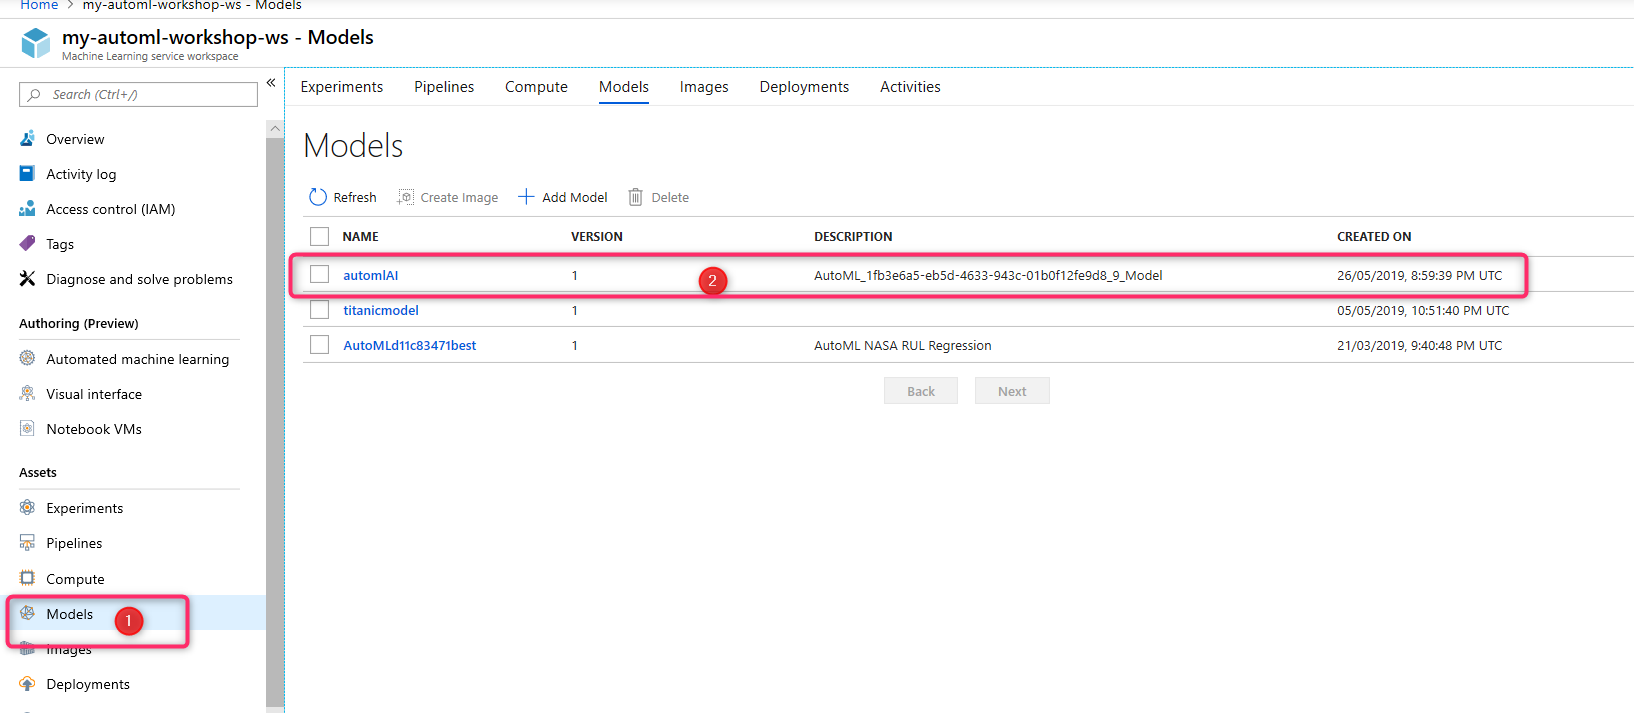
I open my Azure Portal and click the Automated Machine Learning, I can see the dashboard and all experiments I already created,
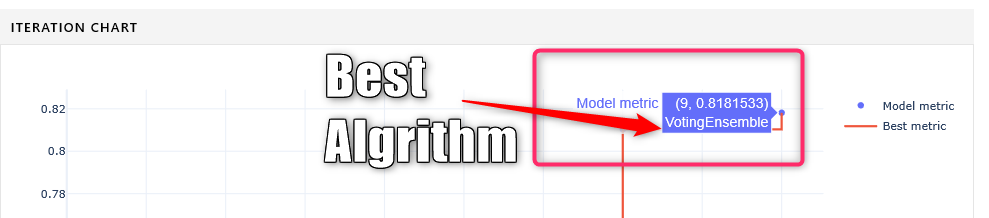
the latest one was “automlAI”, I click on that to access to the detail. From Part 2, AutoML applied different models on my dataset. As you can see in the below picture, couple of different algorithms have been applied to the dataset in different iterations. the best one has an accuracy of 0.82 which is acceptable
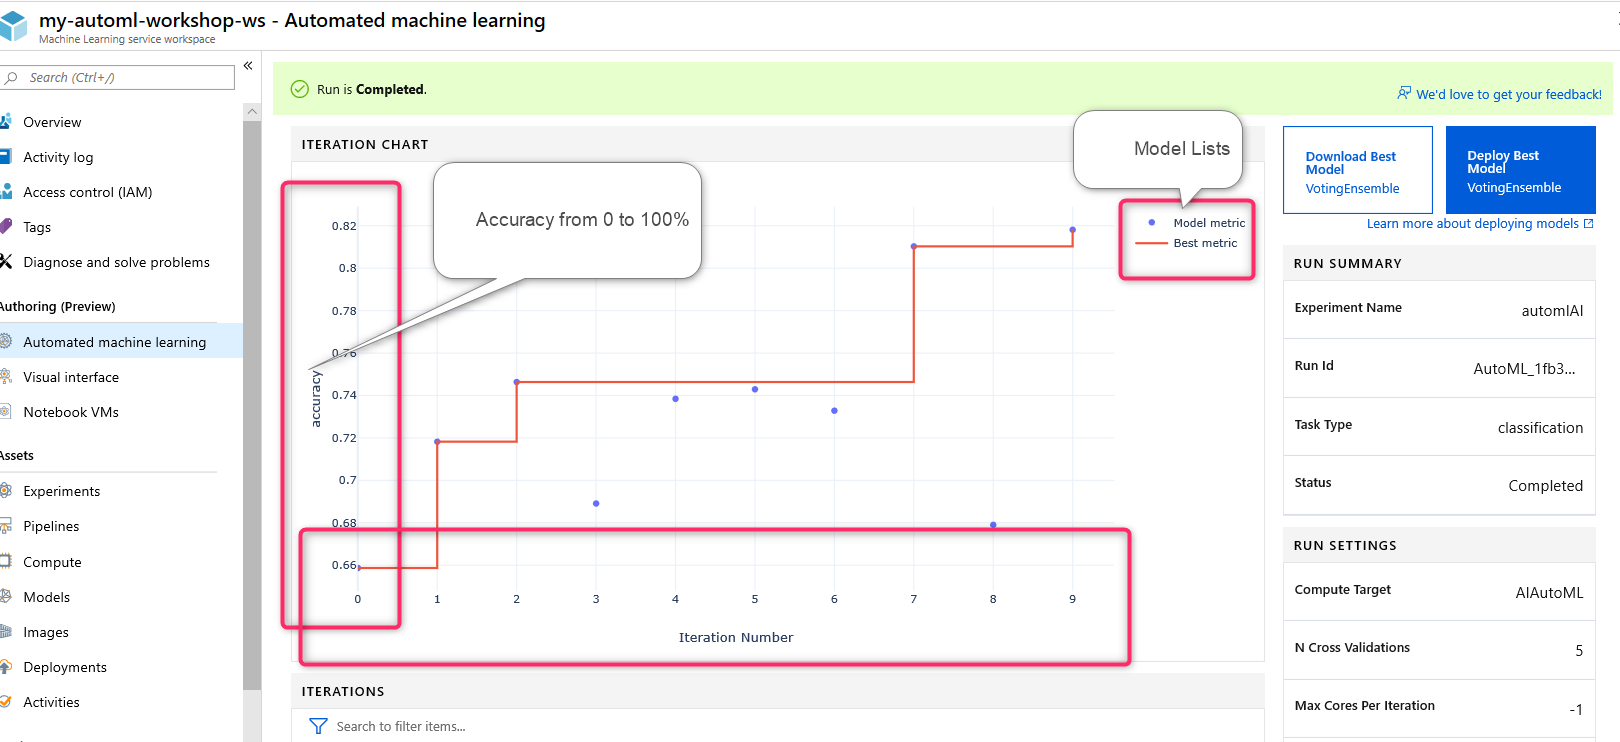
The best model was ” VotingEnsemble”
So AutoML Wizard, consider it as the best model applied to my data based on the Accuracy measure, as you can see in the below picture, there is a “Deploy Best Model” Option in the right side of the screen. Click on it to navigate to the deployment page.

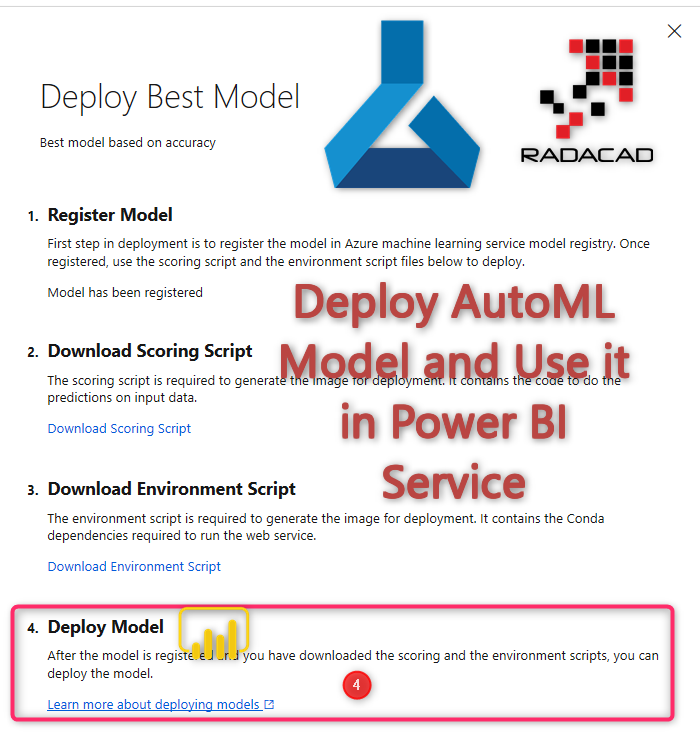
you will navigate to the below page
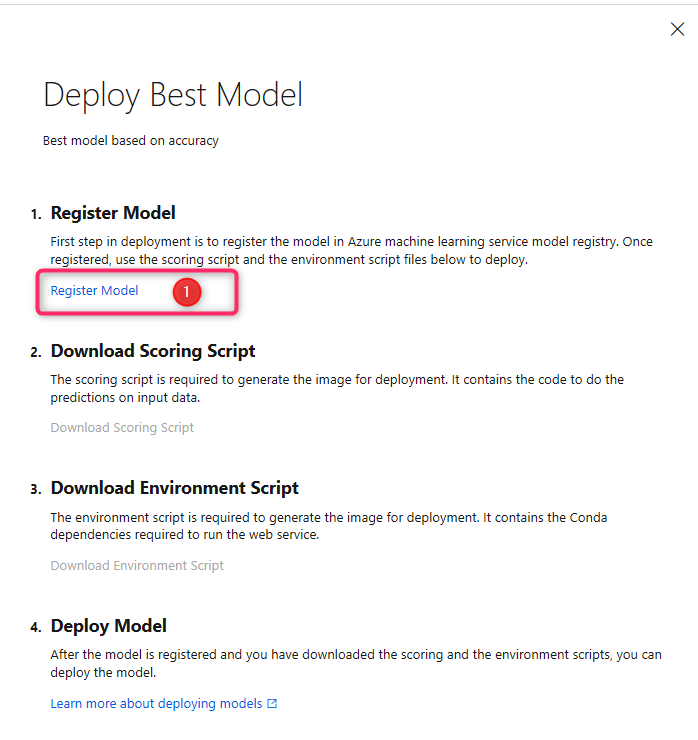
this page actually is a good help page that describes the process.
 First, you need to register the model.

just click on the model and you register it and you will be able to access the model from the panel
so you able to see it in the model list now.


Download the Scoring File
In the next step, you need to download the code that created the model, it a Python code that has been used to create the model to generate prediction out of the input data.
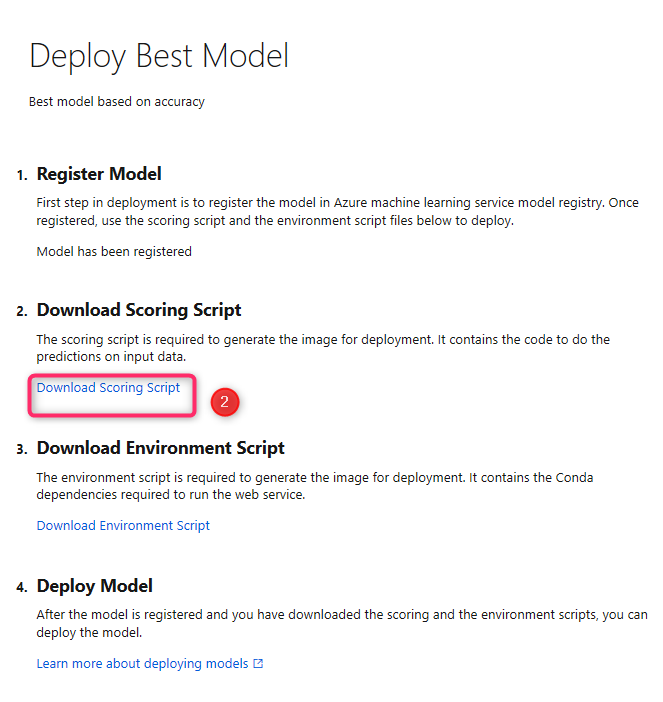
Just save the file on your PC, we need this for further deployment.
 Download the Environment Scripts

for the deployment of all relations and all dependencies are required, so you need to access to it. Just click on the third option to download it, it is in the format of the Conda
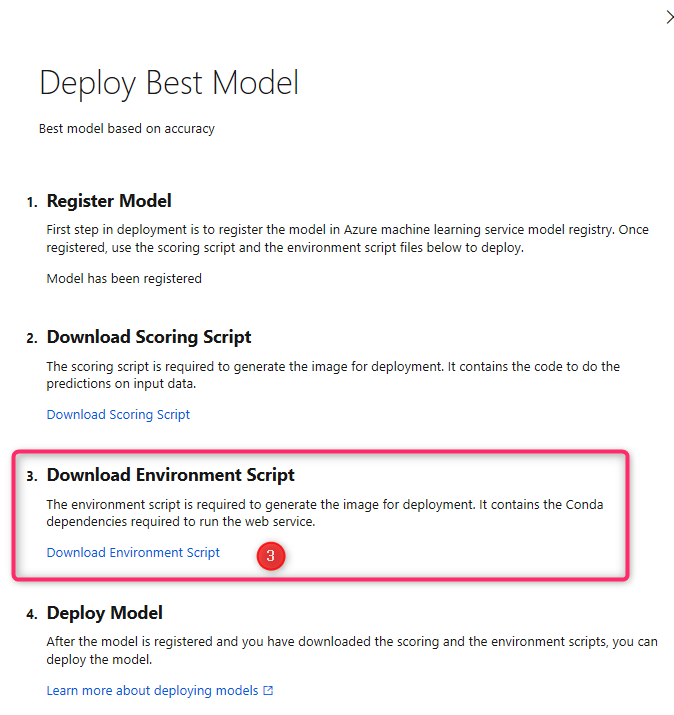
easy! Now you ready for Deployment
 Deploy Model

In the last step, you able to deploy the model. ( it will navigate you to the page help .
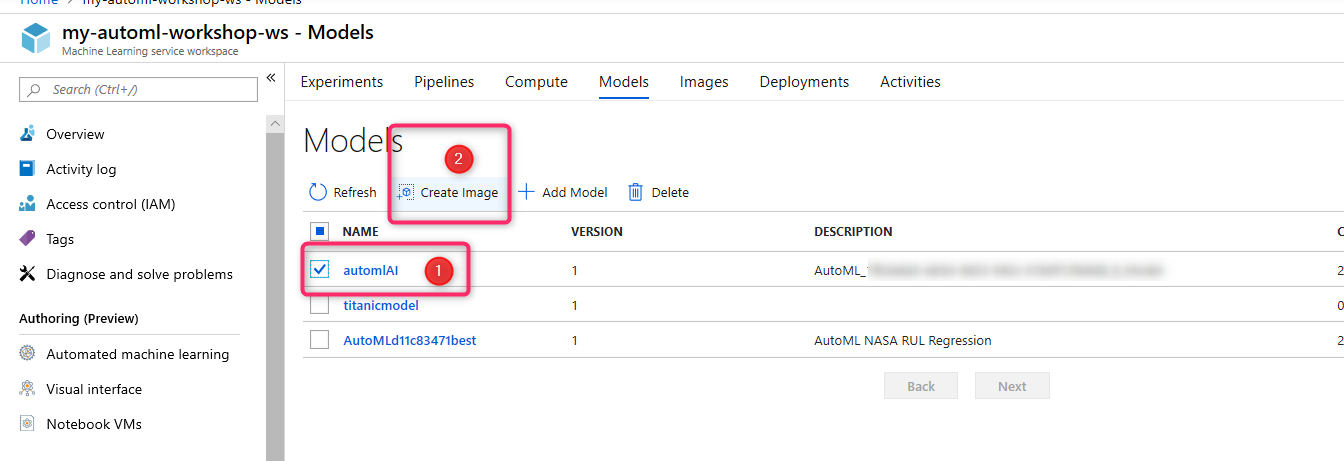
for the deployment, you need to back to the model and create an Image. So click on the Model, then create an image as shown in the below picture
you will navigate to a new page to create the image.
in the new page first you need to provide name
attention that name should not be capital, otherwise, you will get an error like below picture.
then you need to import the scoring file and the environment file as shown in the below picture.
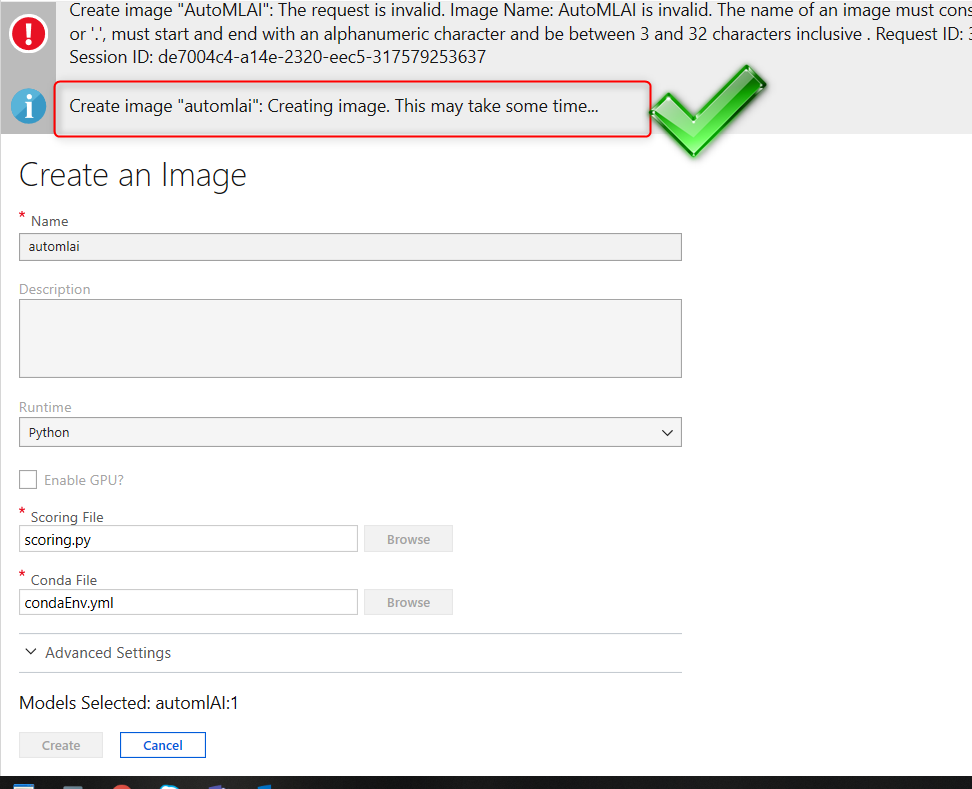
then click on the Create.
this will take some time to generate, be patient.

After a while, you will receive a message that the image has been created.
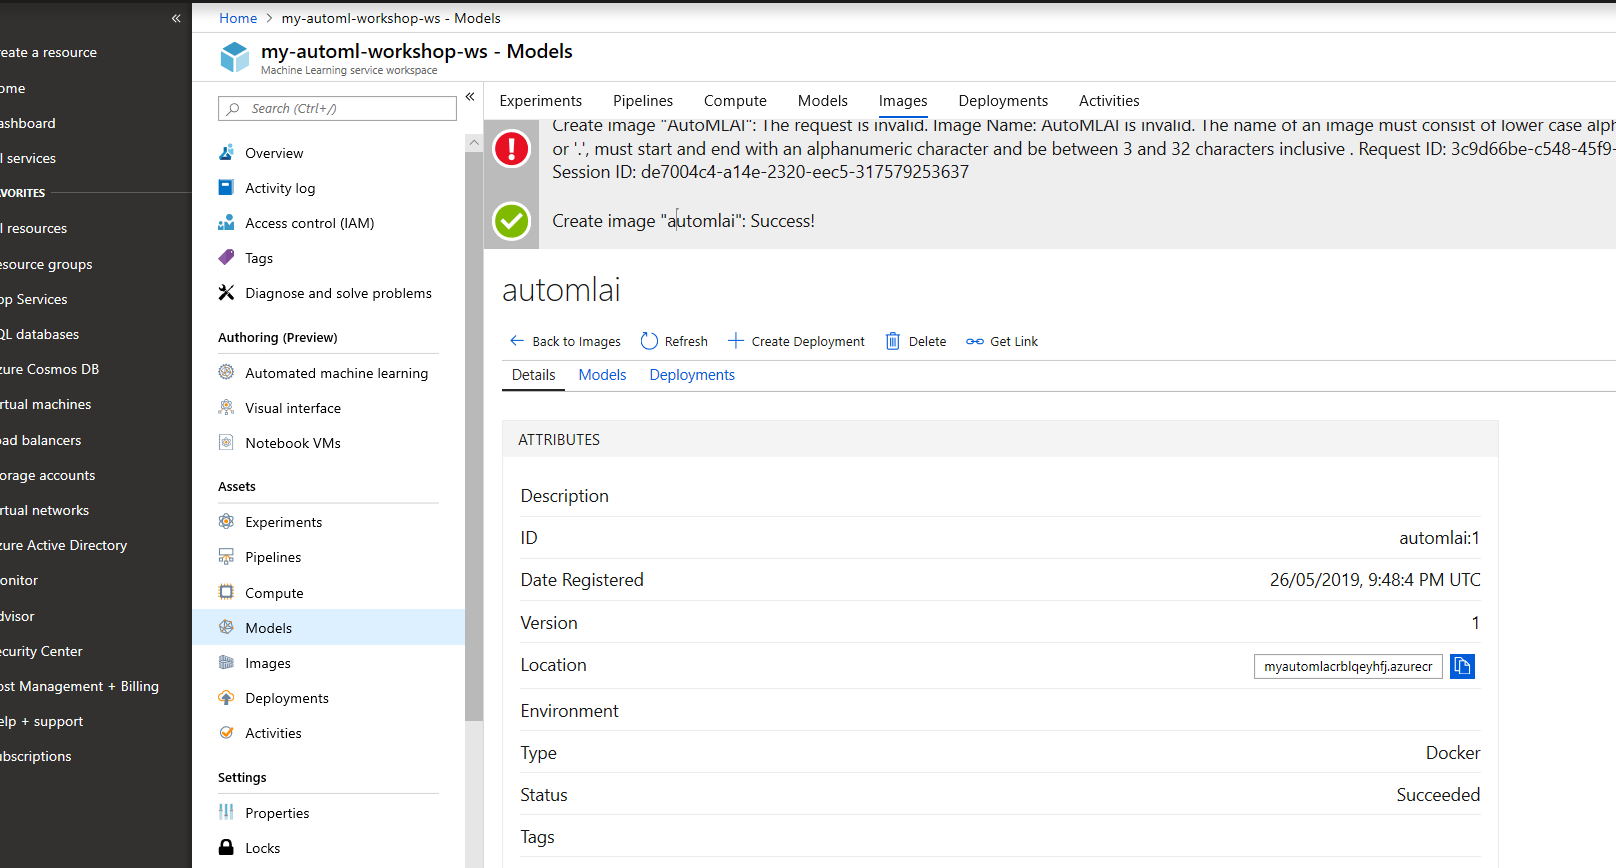
you able to see the create an image file by clicking on the Images Tab (see below picture)
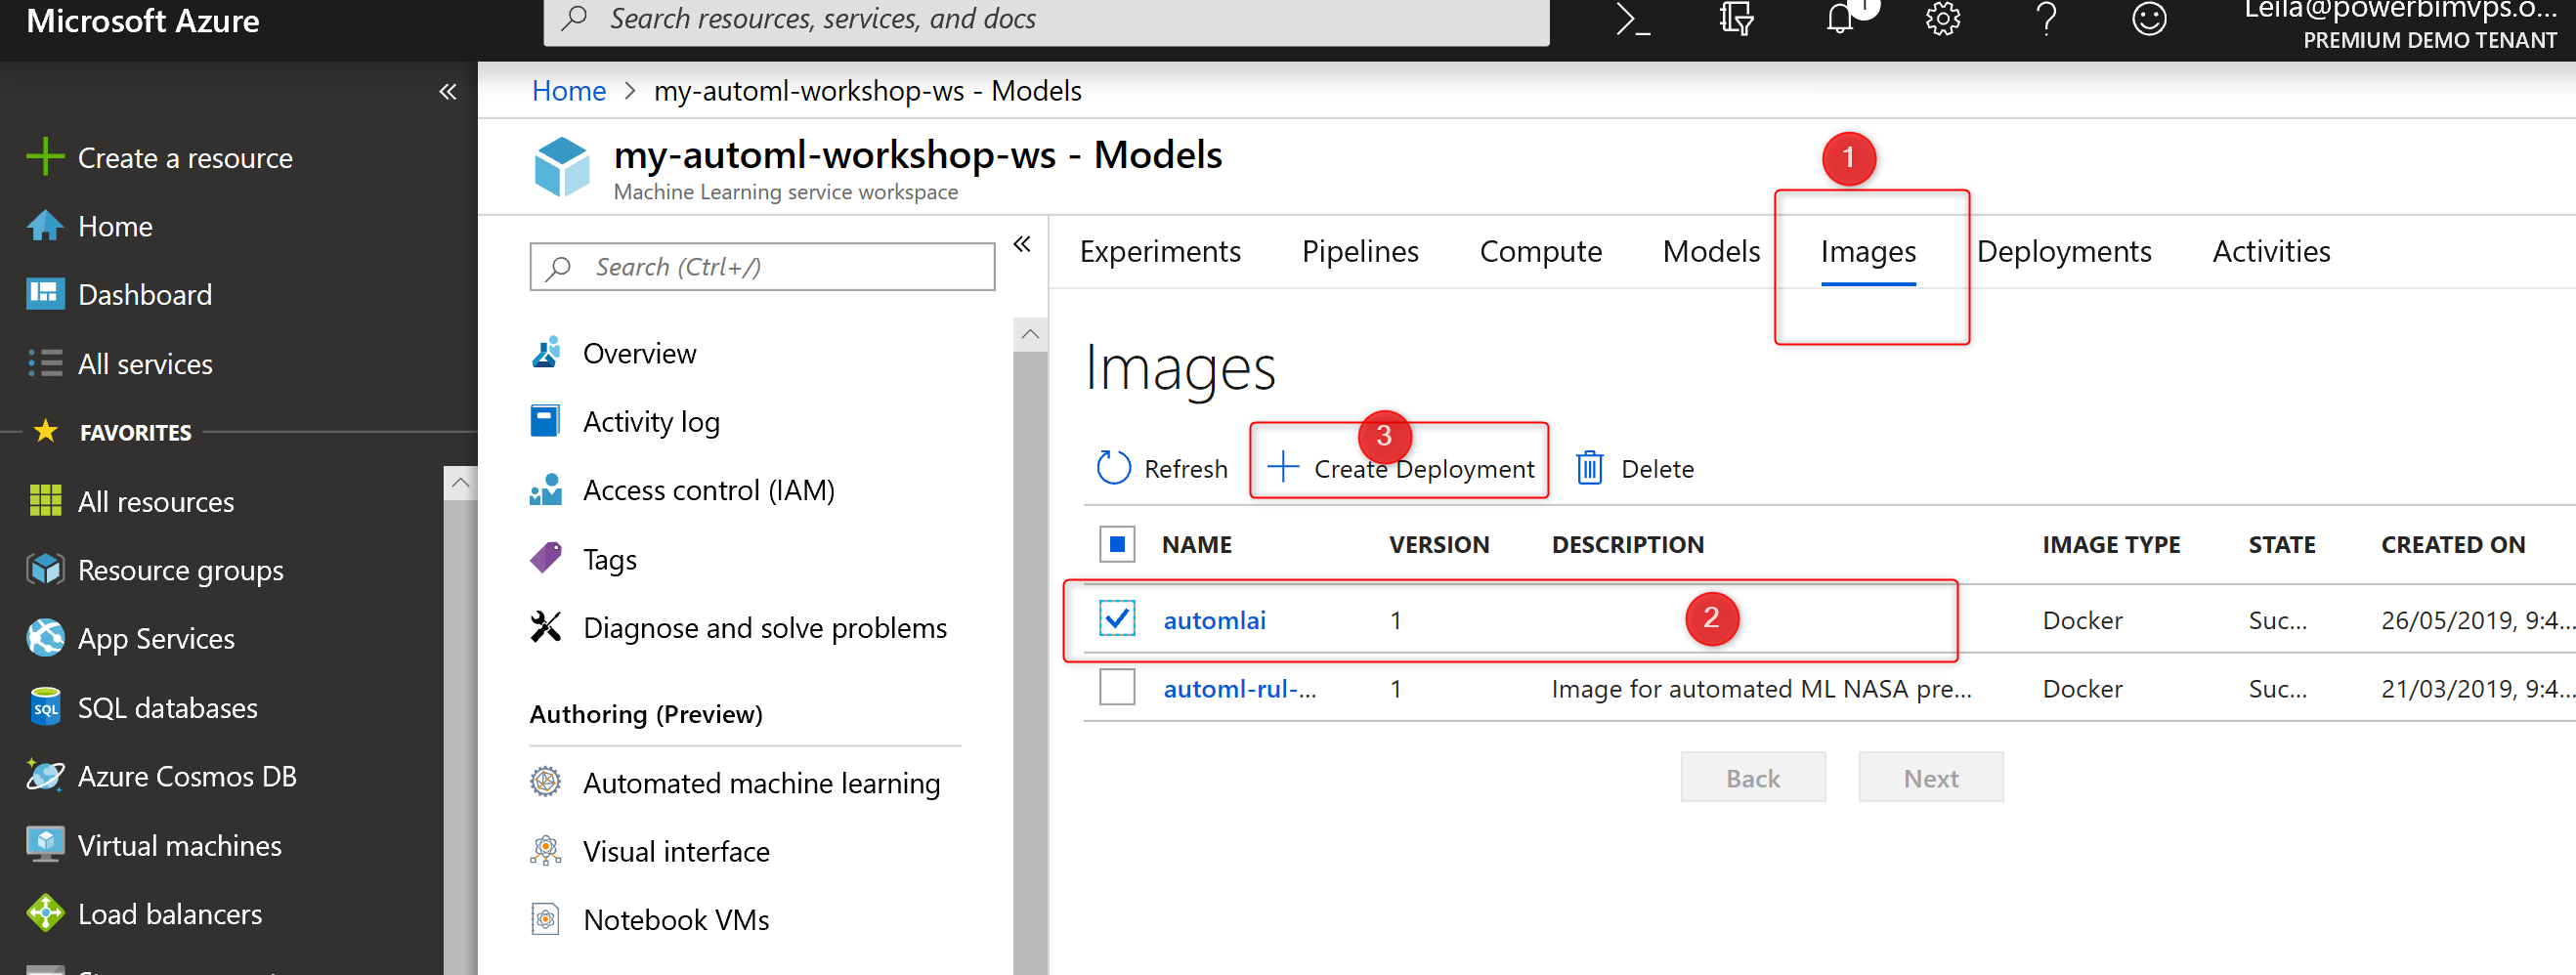
Next step is to select the image file and choose the “create Deployment”
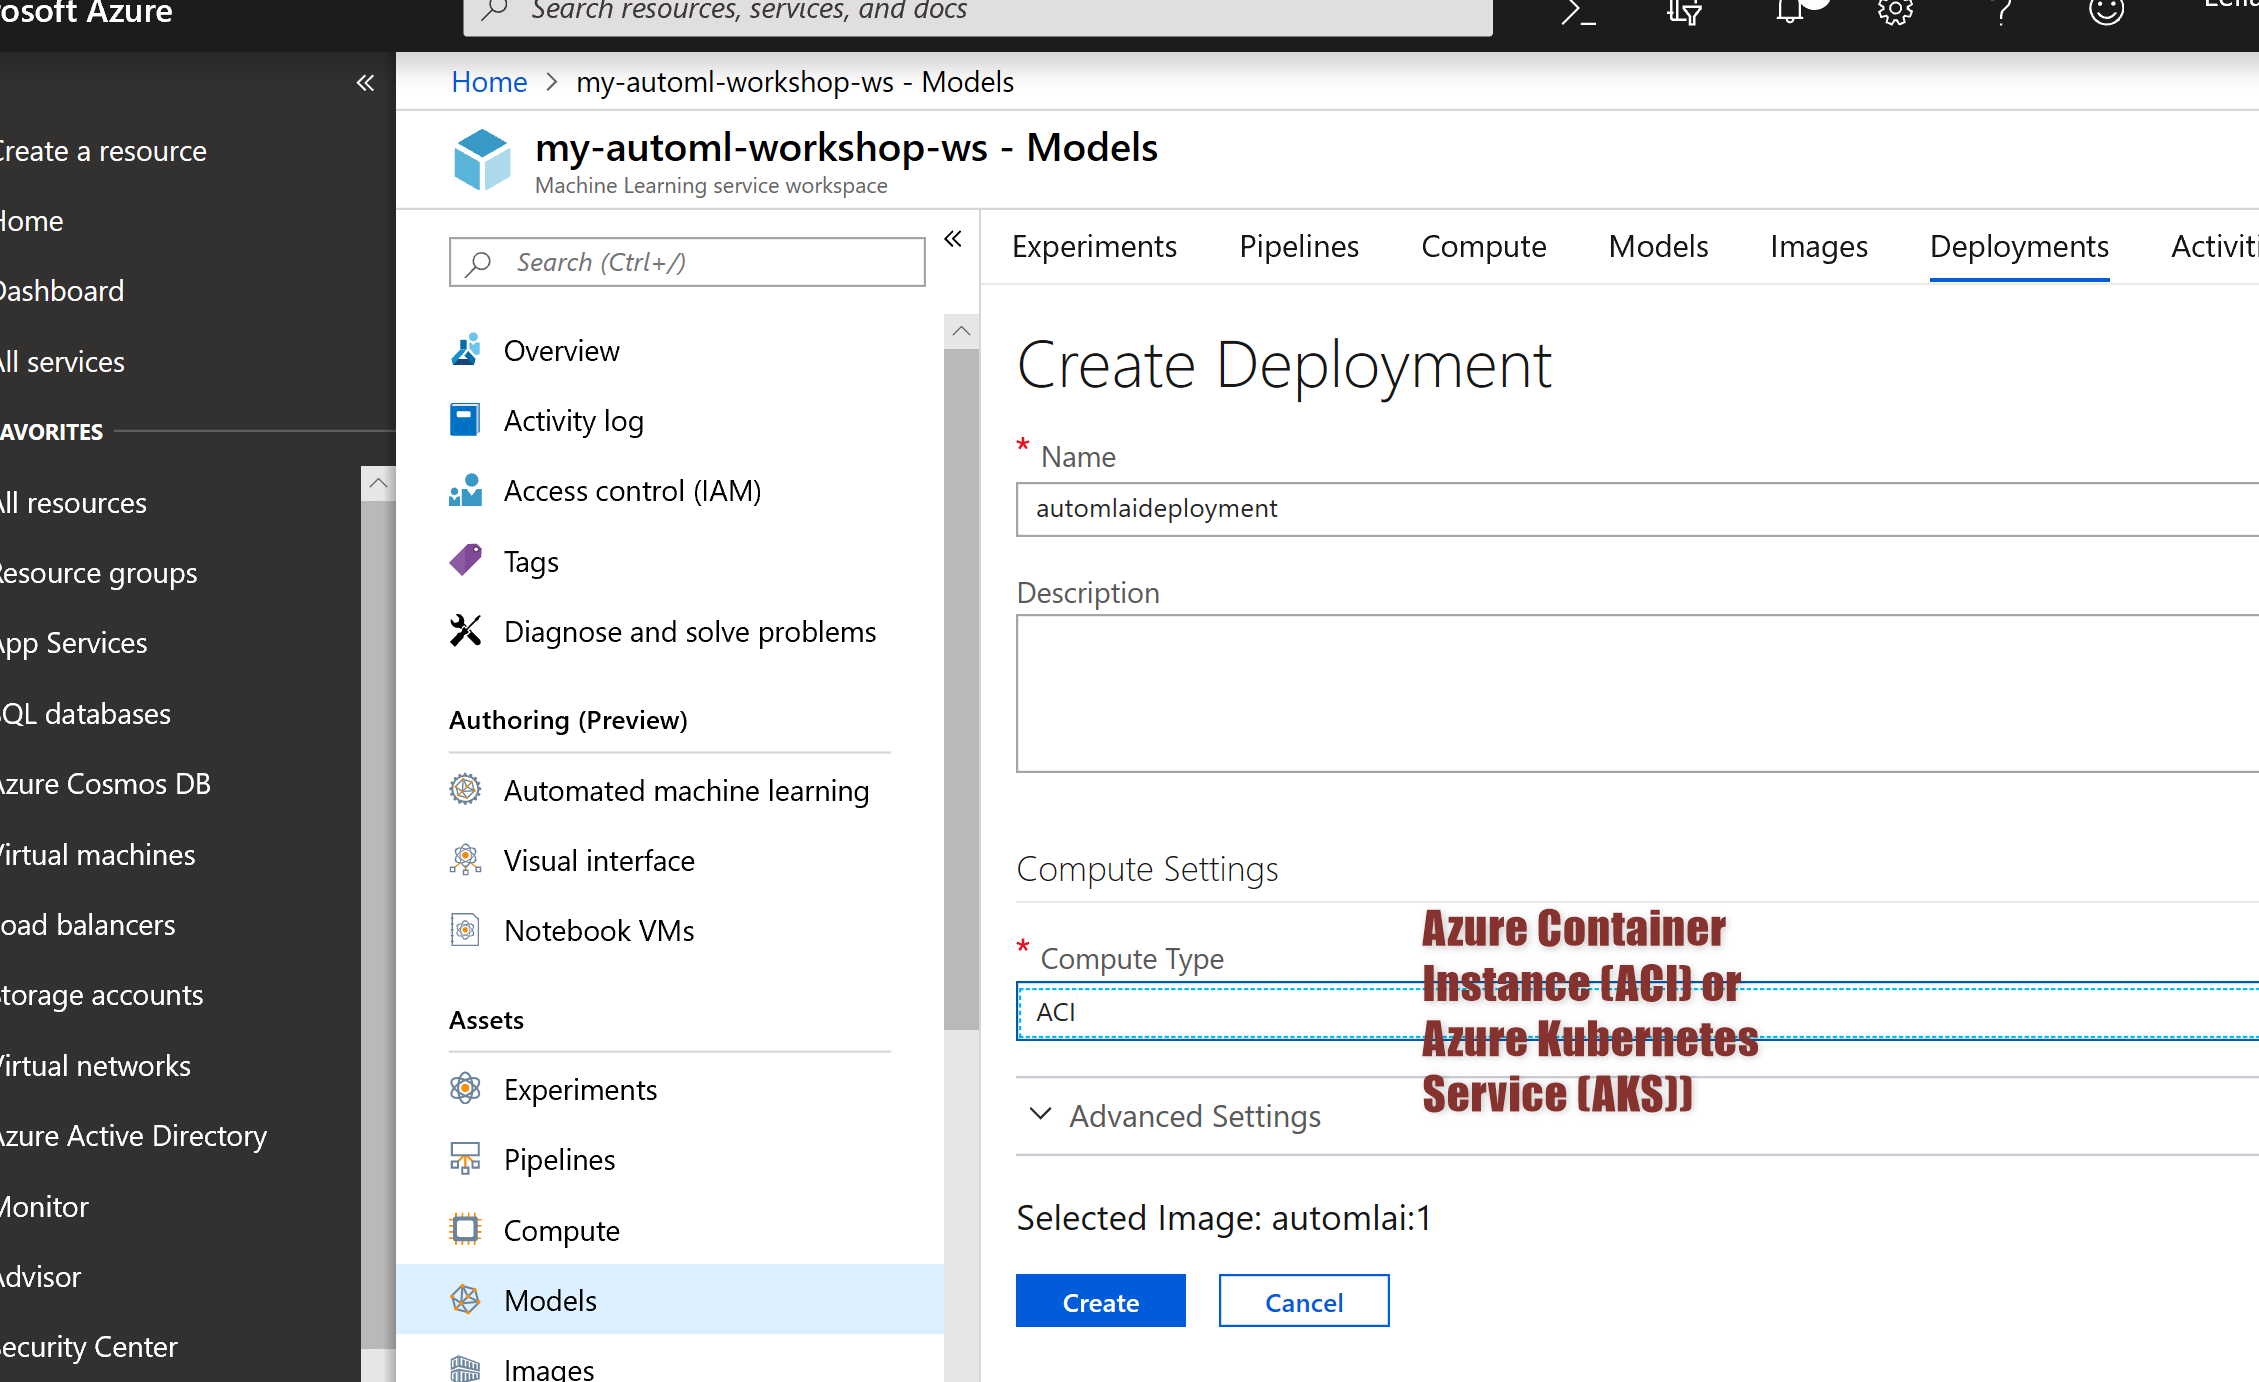
In the Deployment page, first give a name to the deployment, next, you need to choose the Compute Type.
there is two different Compute Type
- Azure Container Instance (ACI) – for testing purpose rather than operational deployment see more from here
- Azure Kubernetes Service (AKS)) – This option is for deployment at scale. see more from here
This a test scenario, so I choose the ACI. if you wish to specify the Compute machine size, you can click on the Advance option. Otherwise, click on the deploy, and after a couple of minutes, you get access to it.
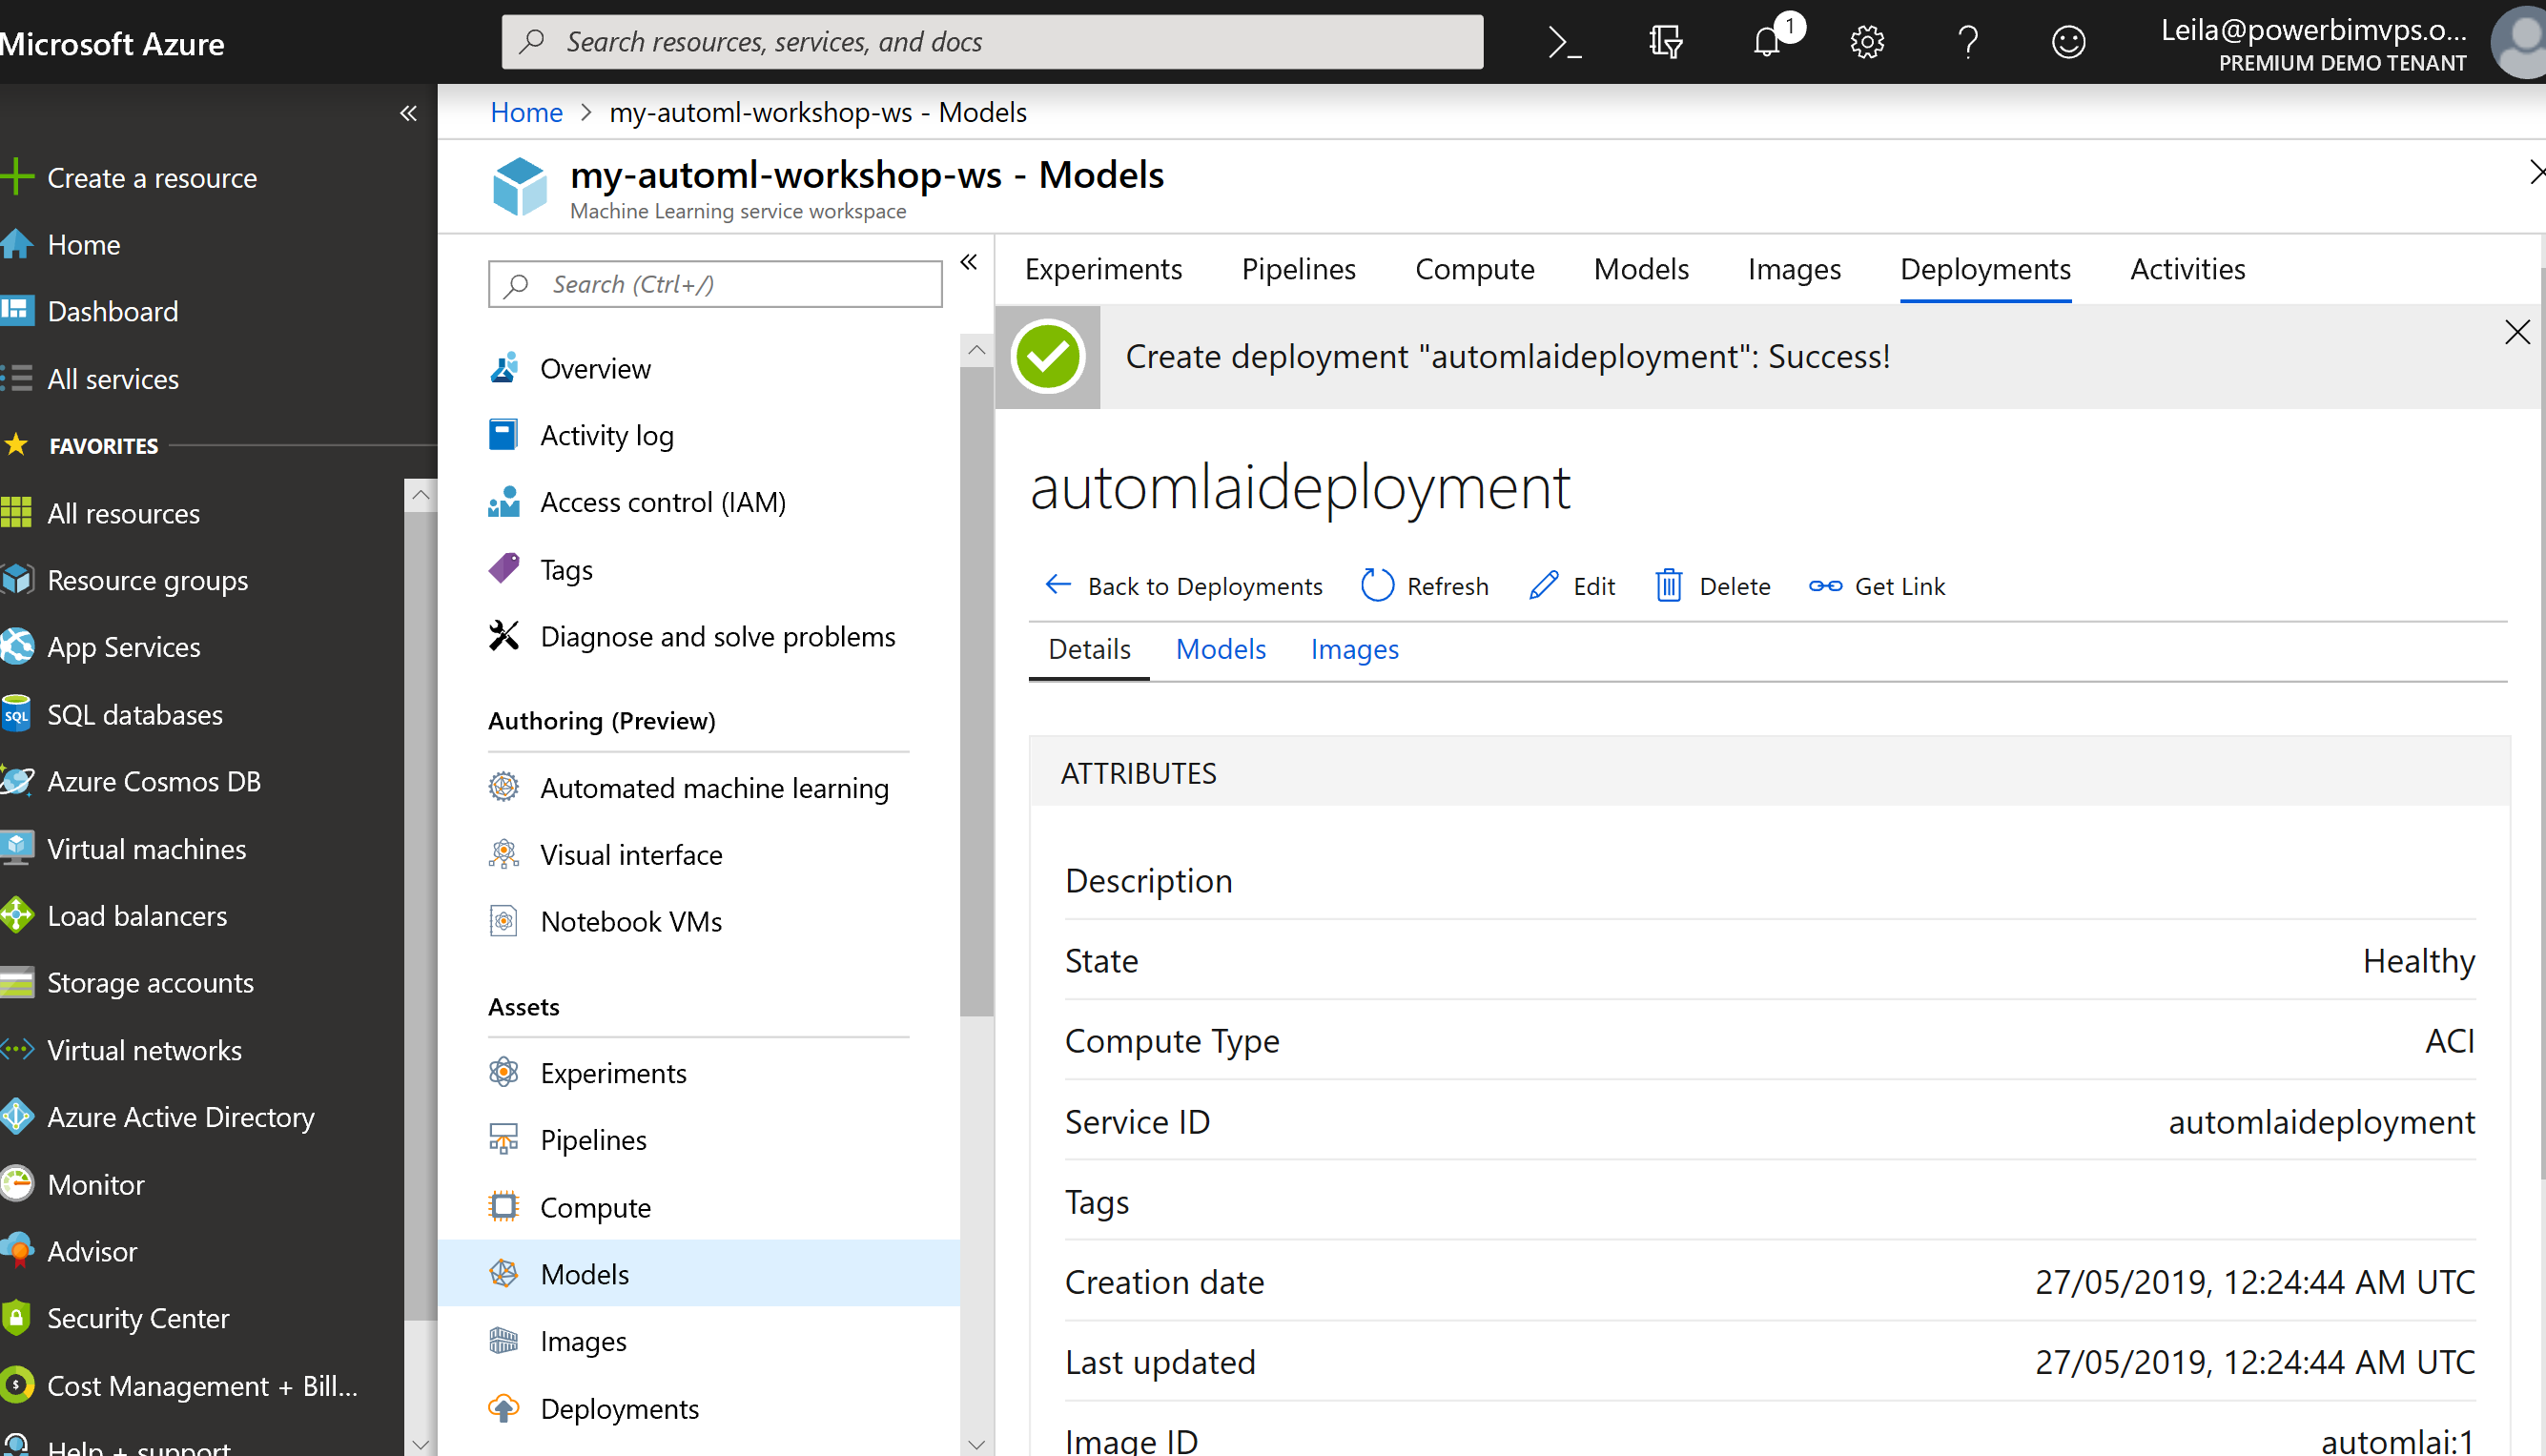
If you check the deployment tab, the new deployment will be shown as you can see in the below picture.

The model is now available to be used in other applications like Power BI!

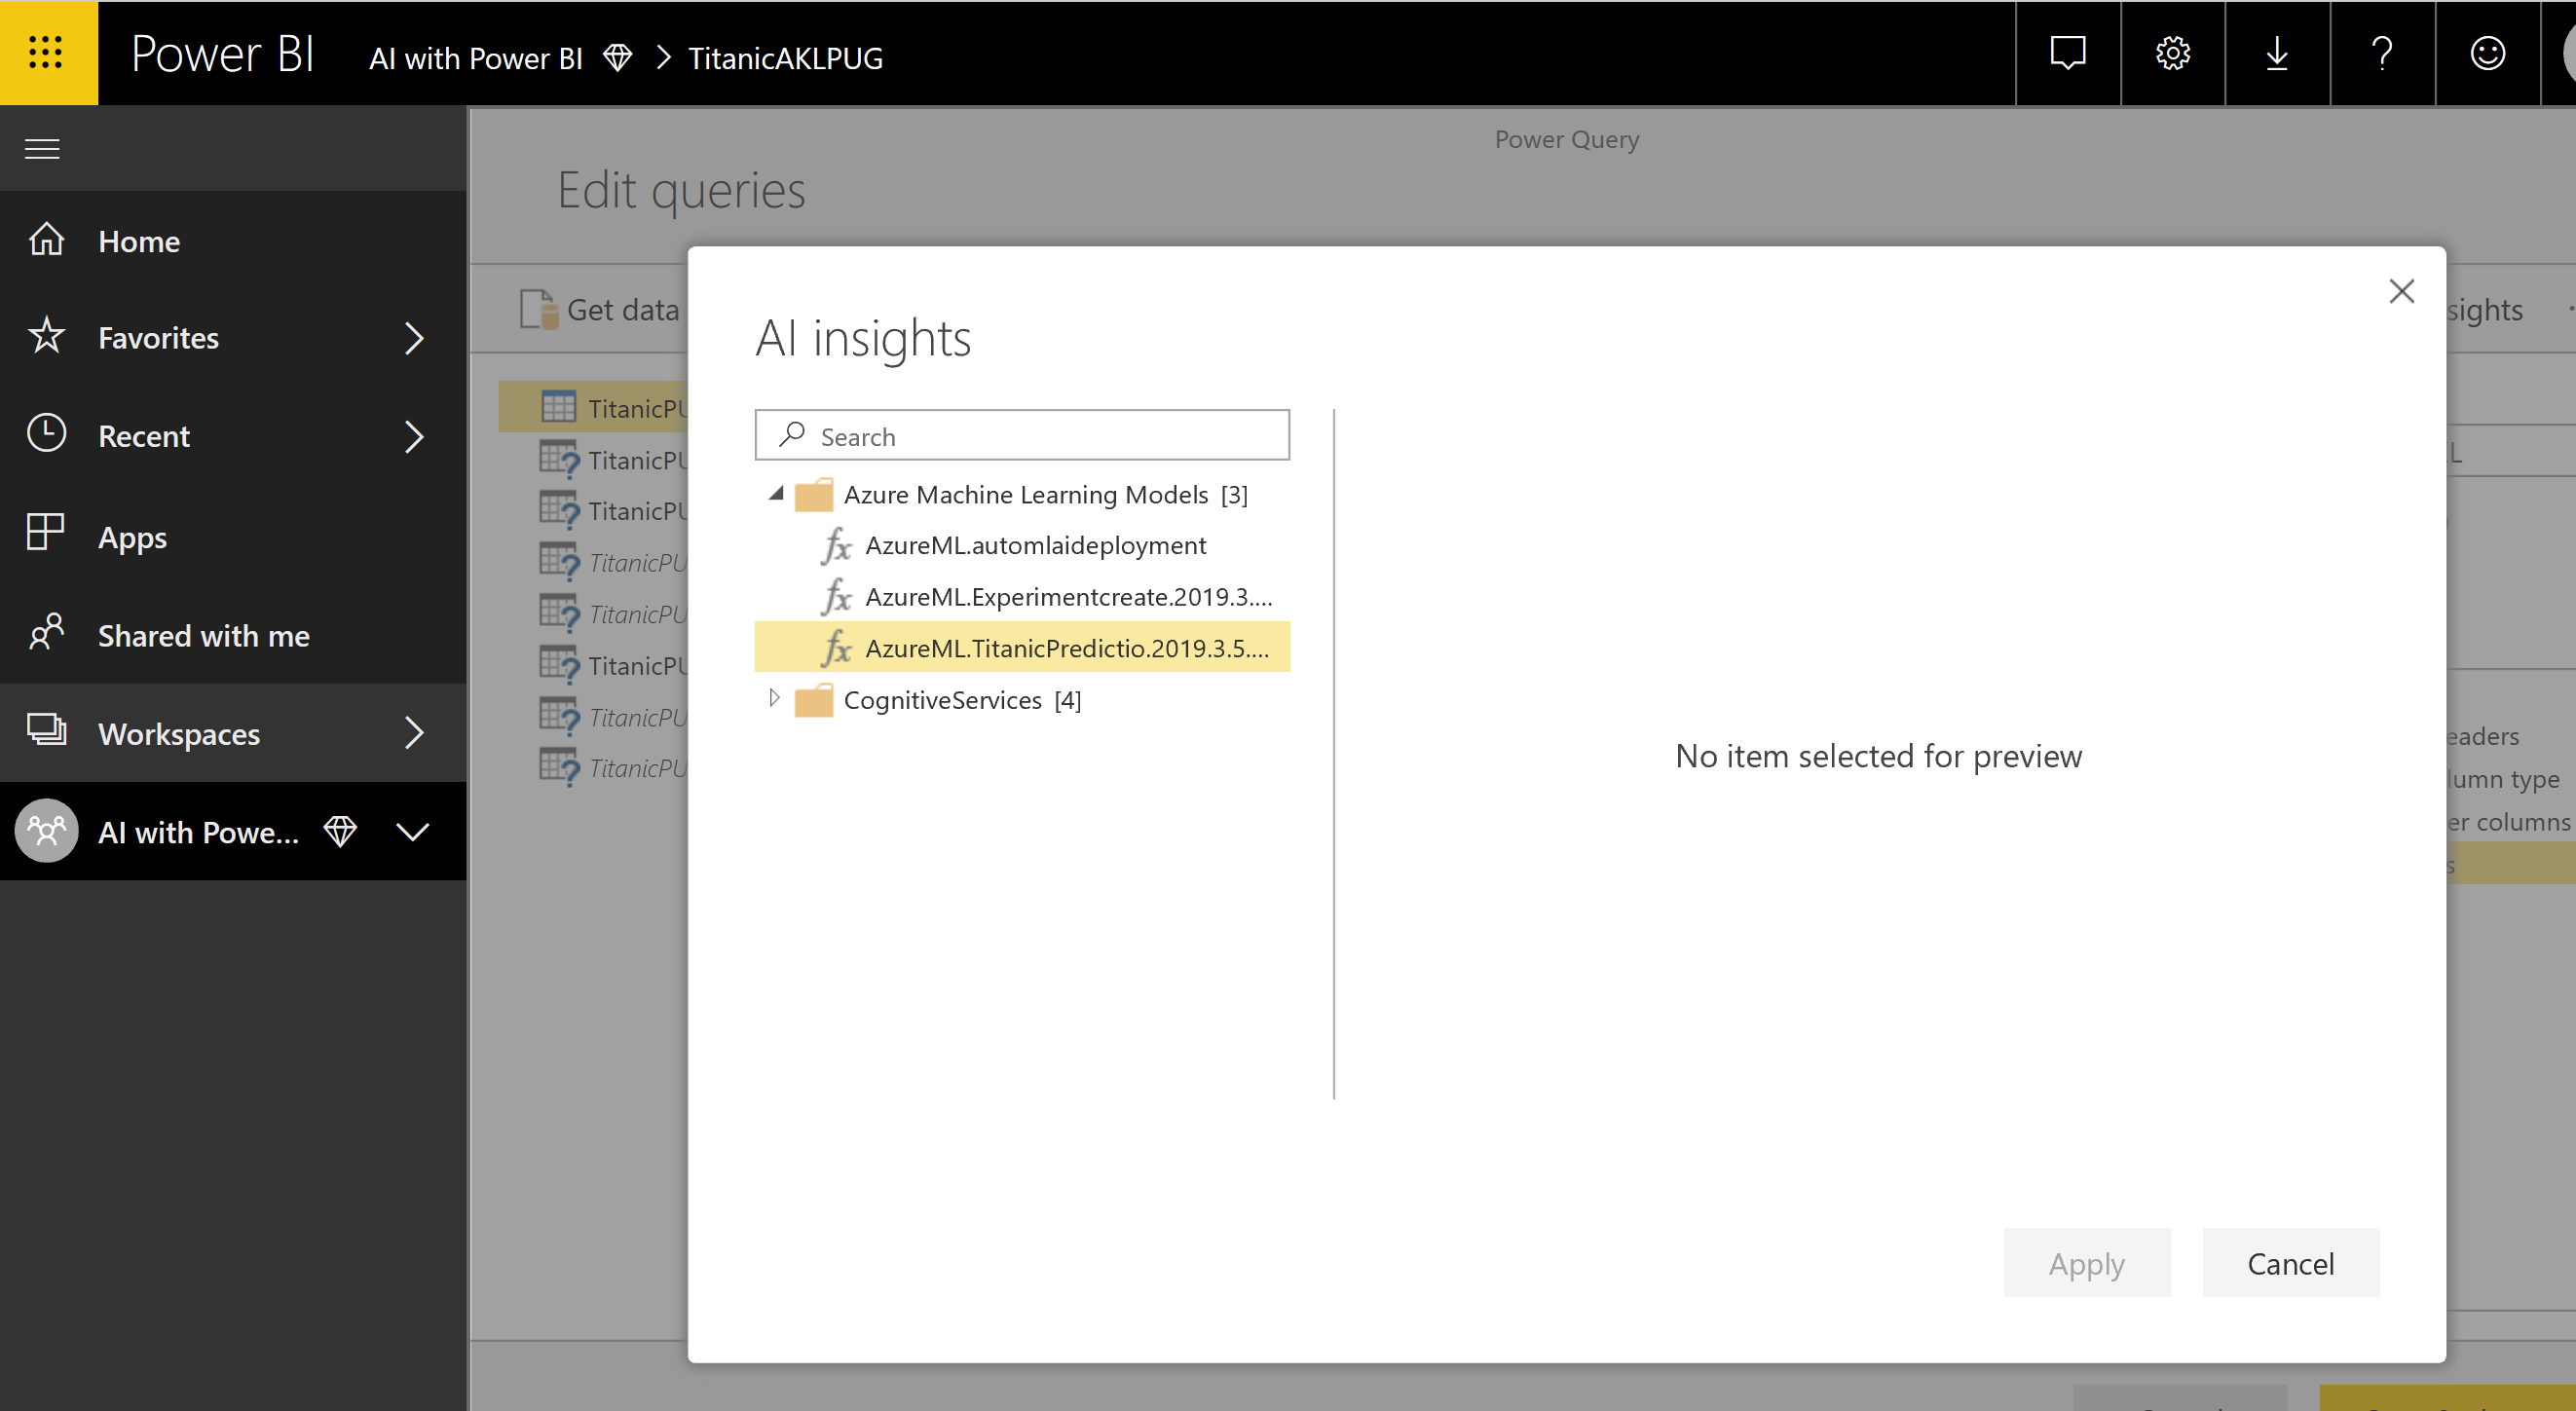
you able to consume the model in your Power BI data flow! (just check your Power BI premium tenant has access to your Azure Portal explained in this video)
as you can see in the below picture because I already provide the access from my Power BI premium tenant to the Azure subscription, without any changes I am able to see the model in my Power BI dataflow Ai Insight ( about activating this feature in Power BI premium tenant see this blog post)
see more from https://azure.microsoft.com/en-us/blog/simplifying-ai-with-automated-ml-no-code-web-interface/
and
https://radacad.com/ai-in-dataflow-azure-ml-studio-integration-with-power-bi-services-part-3


