
Sometimes you just need a new table with a few rows or columns to be added to your data model. One option to create that table is to use the Enter Data option in Power BI Desktop. In this article, I’ll explain how you can use it, and also; more important: How to edit the data of that table after creating it.
Video
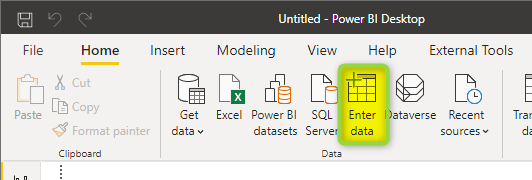
Enter Data
Enter Data is a method to use when you want to create a table in Power BI manually. This type of table is different from calculated tables. This method is useful when you need to create a table with just a few rows and columns in the data model, and you want this to be done quickly.
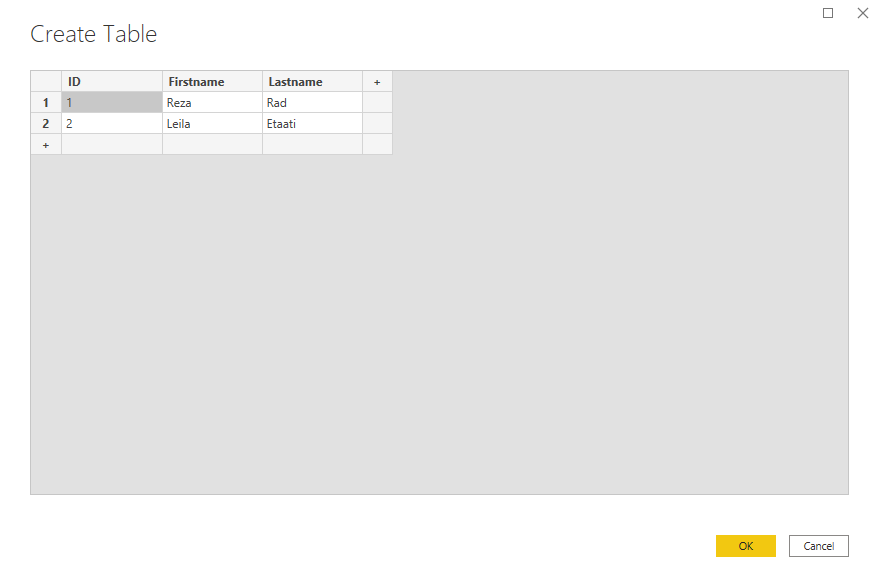
The Enter Data will load a simple but useful graphical interface to create the table you want with columns and data rows.
As you can see the interface is very simple and easy to use. Once you load the table in Power BI, you can use it like any other tables in your model.
How to Edit the table
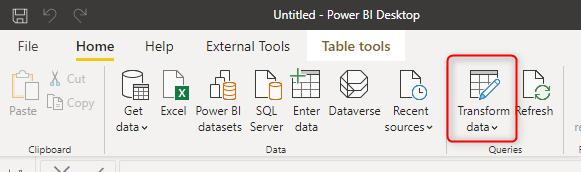
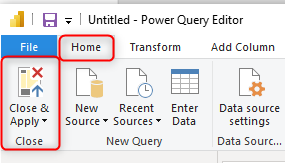
The Edit of the table created by “Enter Data” may not be that easy to find. You need to go to Power Query Editor, You can click on Transform data to get to the Power Query Editor;
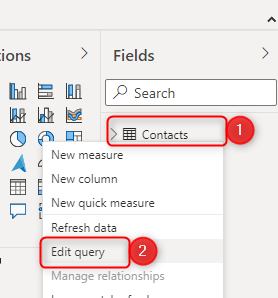
Or alternatively, you can right-click on the table in Power BI Desktop, and click Edit Query.
Once you are in the Power Query Editor, under the query for that table, click on the setting icon for the Source step.
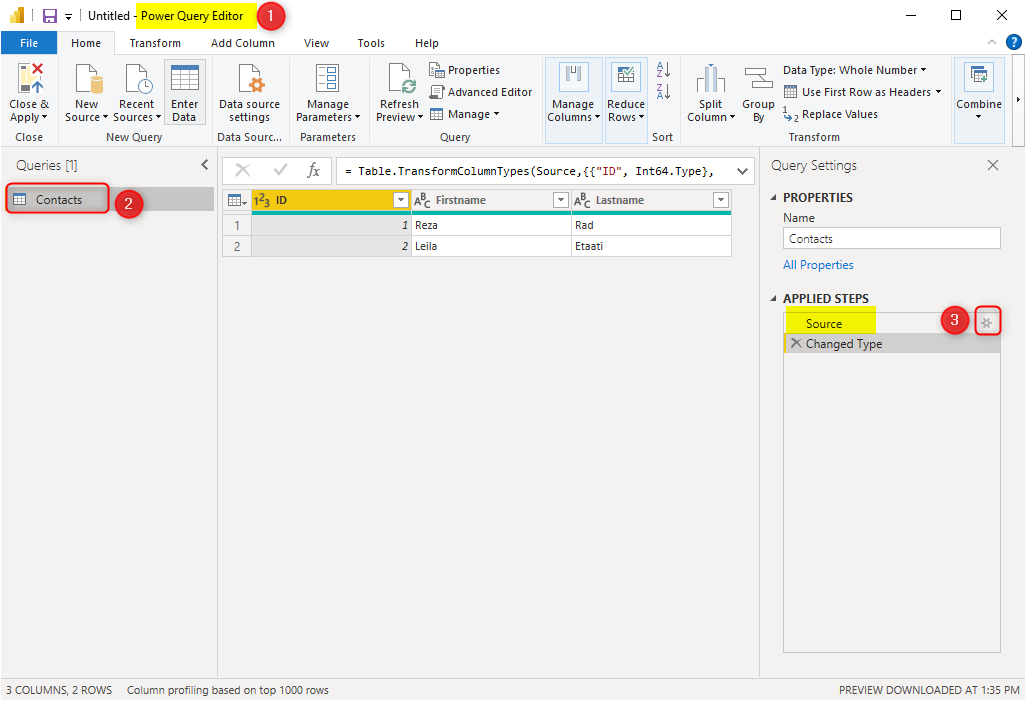
This will load the Enter Data UI again and you can edit the table structure or data.
Remember that once you clicked on OK. You have to click on Close & Apply to get the change applied into the Power BI Desktop.
Think of a better location for the table
Although, creating the table and editing it is easy in the Power BI Desktop. However, I just recommend using it for prototypes and proof of concepts. I do not recommend to add a table using this method in production-ready Power BI reports.
The reason is that the table created using this method will need the PBIX file to be opened each time a change is needed even on the data. It is far better to keep the table in another location that can be accessed separately. For example, in a database, or even an Excel file in a shared folder or SharePoint online would serve much better for this purpose.


Reza is author of more than 14 books on Microsoft Business Intelligence, most of these books are published under Power BI category. Among these are books such as Power BI DAX Simplified, Pro Power BI Architecture, Power BI from Rookie to Rock Star, Power Query books series, Row-Level Security in Power BI and etc.
He is an International Speaker in Microsoft Ignite, Microsoft Business Applications Summit, Data Insight Summit, PASS Summit, SQL Saturday and SQL user groups. And He is a Microsoft Certified Trainer.
Reza’s passion is to help you find the best data solution, he is Data enthusiast.
His articles on different aspects of technologies, especially on MS BI, can be found on his blog: https://radacad.com/blog.
Very good article, very useful. Thank you