
The last post, we introduced Microsoft PowerApps, the solution to connect, create and share business apps with your team without coding, hence boost efficiency in your organisation, facilitate lean delivery and improve business agility.
Pickup from the TimeSheet App we generated in just a minute from the last post, this time, we will help you to get familiar with the environment, so that you are prepared to further customise functionalities to meet your business needs.
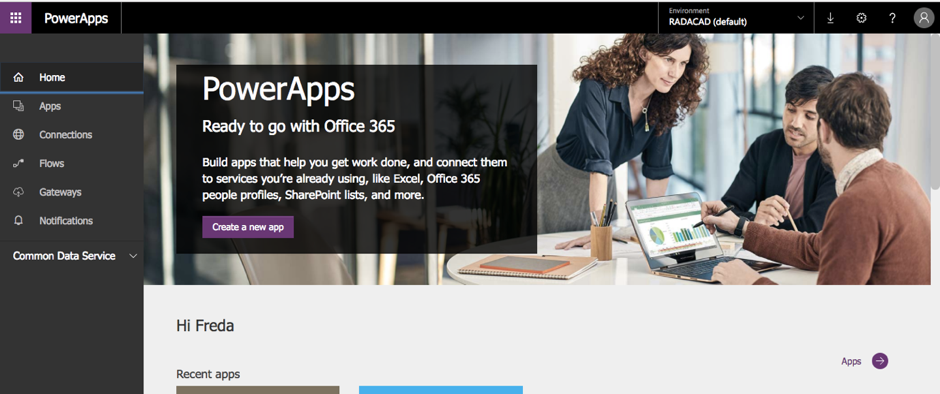
This is what you see at conception of the App.

You are encouraged to take a moment to join the quick tour with Microsoft. Or you can jump start with us to have an overview of the environment below:

On the left: You see all the object packages created. In this TimeSheet App, we have 3 screens: 1. BrowseScreen1; 2. DetailScreen1; and 3. EditScreen1. We will mainly work on the EditScreen1 to customise functionalities of the App.
In the Middle: You see the preview of the App at the selected screen. Because it is connected to our data table TimeSheet, at the BrowseScreen, we can see existing records in the data table from this screen. If you choose other screens, different information will be pulled up.
On the right: This is the operating panel. There are 2 tabs: Options and Advanced. At this stage, we are at Options tab, and you can see the data table that we are working on.
Now you have a brief idea on the working environment, we can start customising functionalities of the App.
Functions that we want to build in this TimeSheet App:
| User can create timesheet, and directly enter records to the database | |
PowerApps Generated:
|
Customization Needed:
|
| User can choose their names from the App, and the database can pick up the respective Employee ID to update record | |
PowerApps Generated:
|
Customization Needed:
|
| User can choose Client name from the App, and the database can pick up the respective Client ID to update record | |
PowerApps Generated:
|
Customization Needed:
|
| User can pick the date from the App, and database will be updated | |
PowerApps Generated:
|
Customization Needed:
|
| User can enter time that the task is started, and database will be updated with the time in correct format | |
PowerApps Generated:
|
Customization Needed:
|
| User can enter time when the task is completed, and database will be updated with the time in correct format | |
PowerApps Generated:
|
Customization Needed:
|
| User can enter descriptions of task completed, and database will be updated with the description. | |
PowerApps Generated:
|
Customization Needed:
|
As you can see, out of the 7 functions, 2 are already completed. We just need to touch up a little bit on the rest according to our specific needs, otherwise the App is actually very ready to use.
Amazing, isn’t it? With PowerApps, building App is now just means a few clicks, and business efficiency & agility are unlocked.
Coming up, we will look at how to access data from other data tables and work on the first function: Dropdown List
Stay Tuned!

